2.7. Monitoring Changes
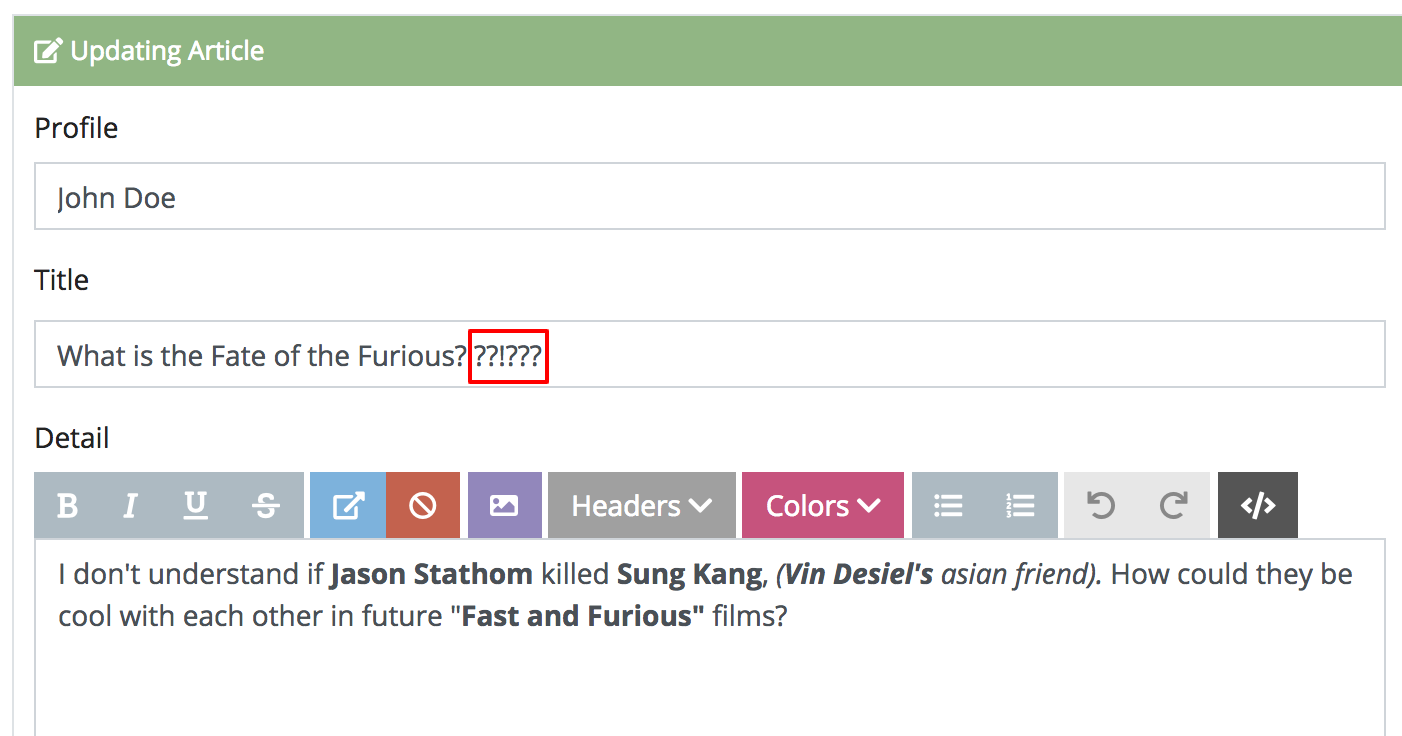
Let’s make a noticeable change in one of the Articles like the image below add on to the title.
Figure 2.7.A. Making an Article Change
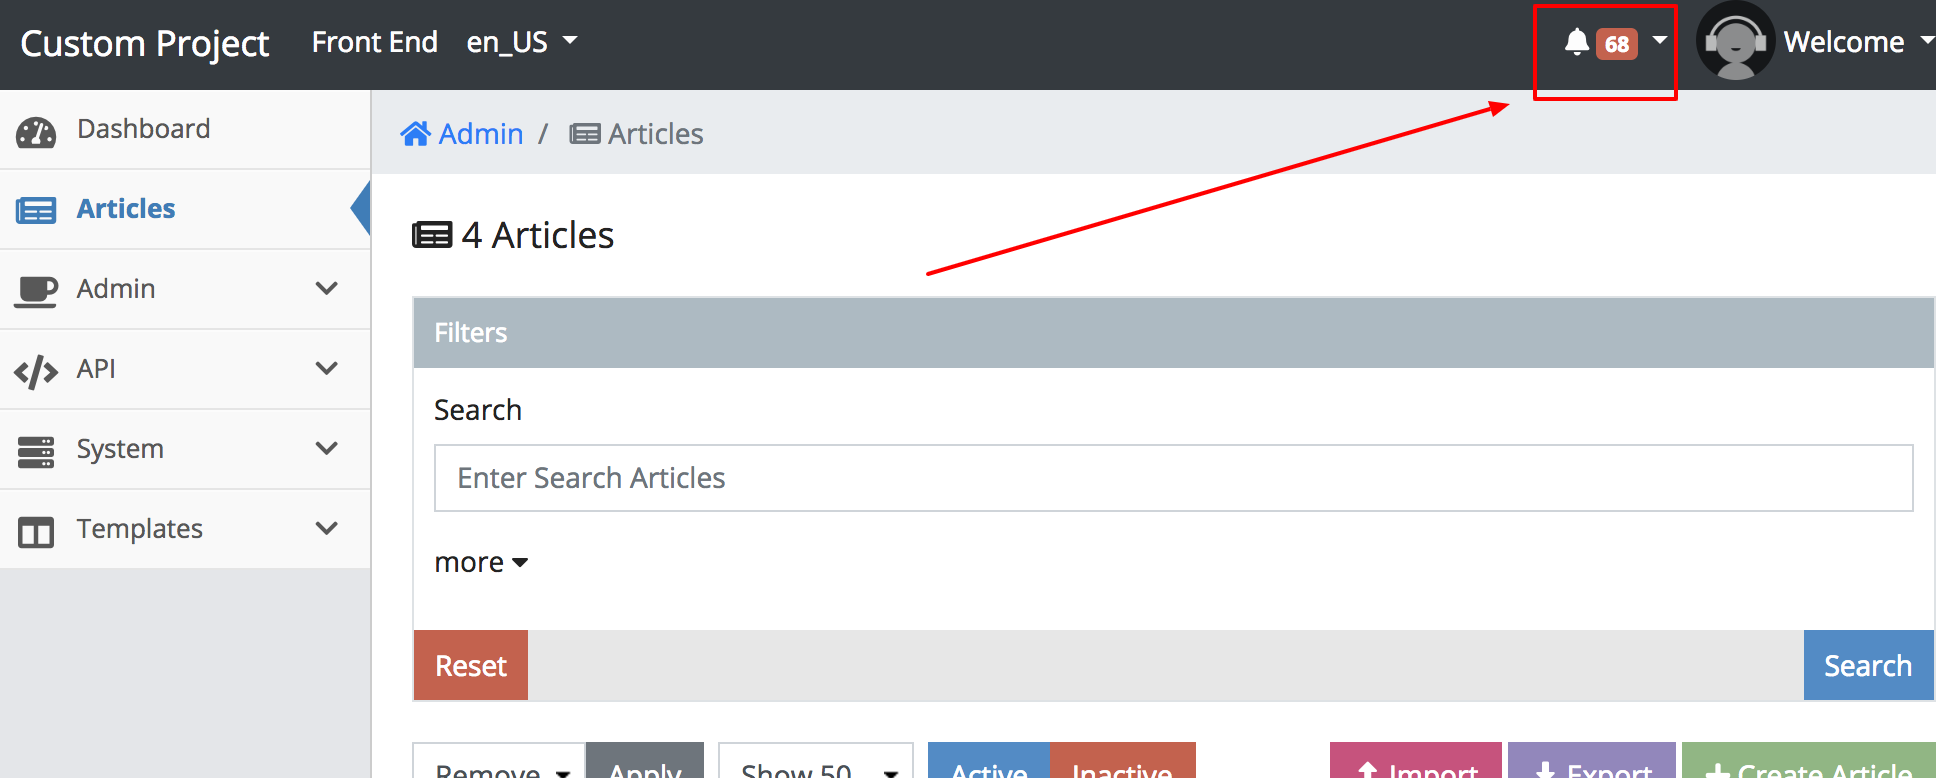
After saving the Article On the top right you will notice on the top right of admin there’s a bell icon that just incremented by one (in the red indicator). Click it to open a list of the last 5 recent changes.
Figure 2.7.B. Notifications
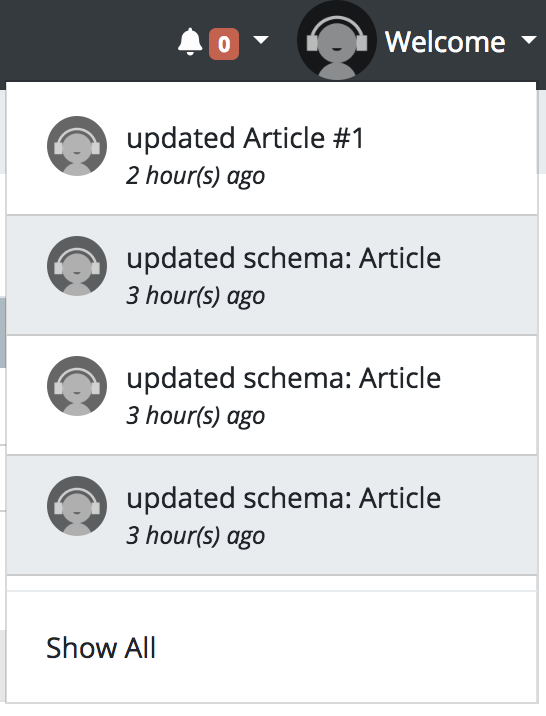
Towards the bottom of that list you should see a call to action called Show All.
Clicking this will direct you to the History search page.
Figure 2.7.C. Notification Drop Down
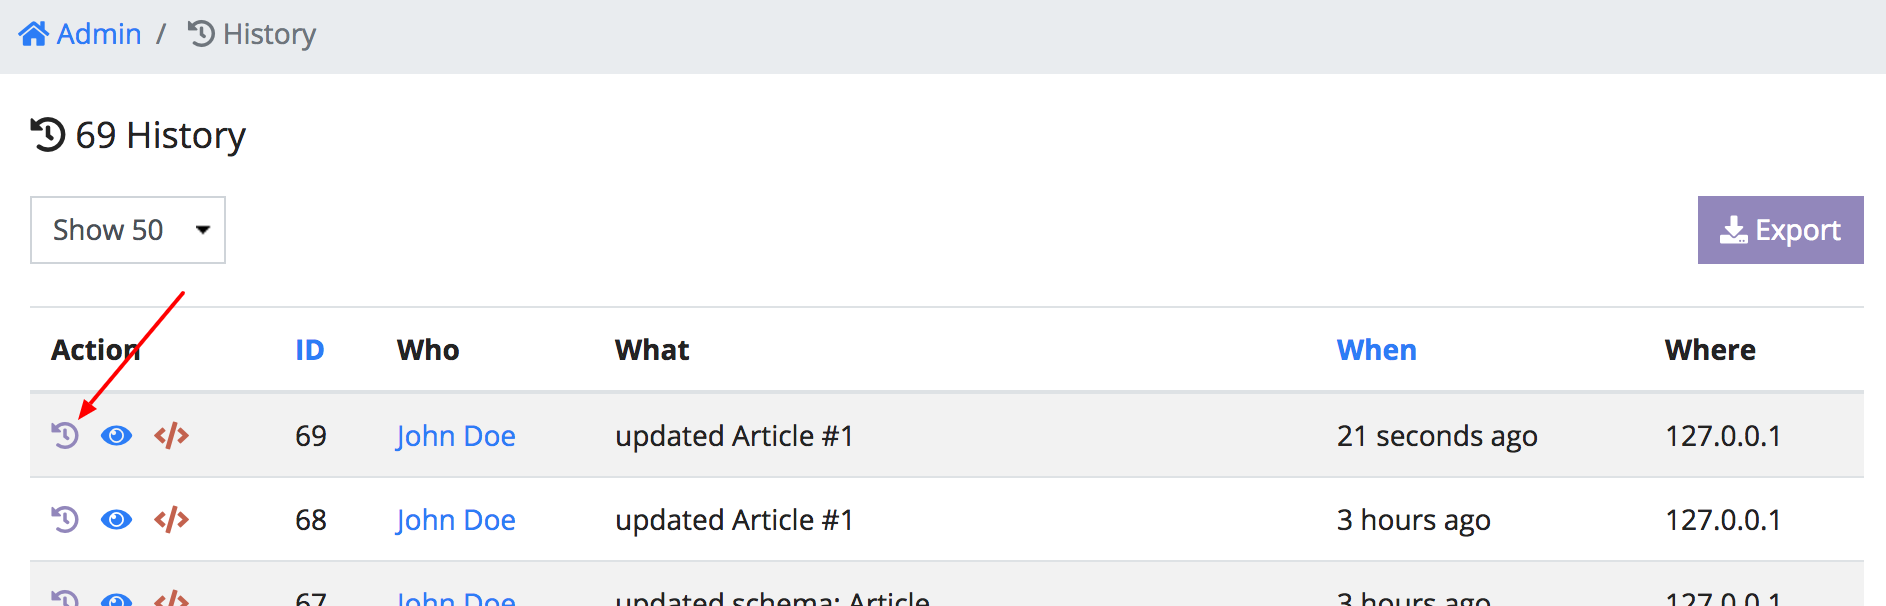
For ease of understanding, the history is uses a simplified Who, What, When, Where table, where the rows have special row actions that we have never seen before. Going from left-to-right, the following items describes each action.
- View Changes - purple replay icon - Clicking this will show you the data of the item with the data of what is previously was before the update happened.
- View Item - blue eye icon - Clicking this will redirect you directly to the item that was changed.
- View Log - red code icon - Clicking this will bring you to the raw logs that were captured during this event.
WARNING: Please make sure the `/logs` folder in your project is writable
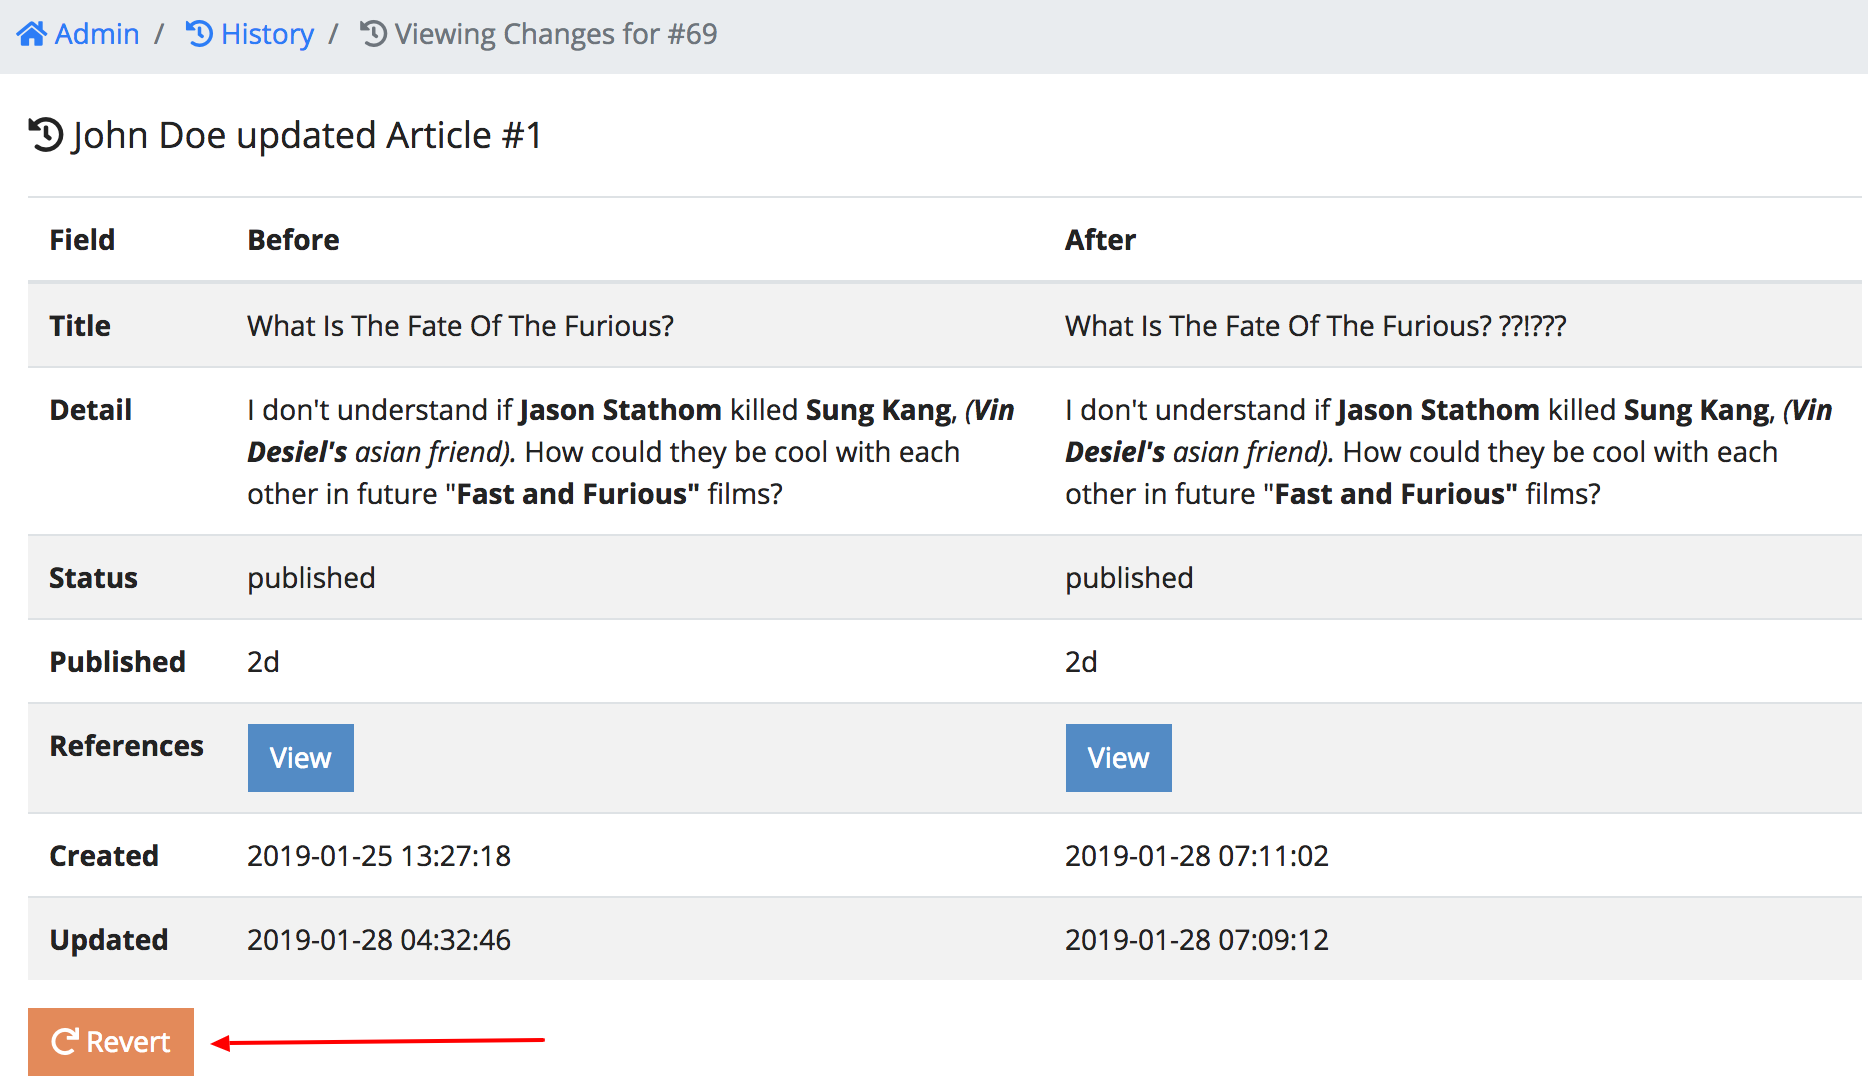
Let’s click on View Changes (purple replay icon) to see our latest change.
Figure 2.7.D. View Changes
As you can see, the system includes a way to revert the changes incase there was some sort of mistake.
Figure 2.7.E. Revert Changes
You've unlocked a secret! Visit http://127.0.0.1:8888/admin/history/changes/article/1 to
see a full list of changes.
Conclusion
History mixed with roles adds accountability to users of the system and allows to somewhat recover data. Adding on to the capabilities of this admin, in the next chapter 2.8. Setting up the API, we will be covering how Cradle can programmatically communicate with other systems.