2.2. Populating Models
- 2.2.1. Article Search
- 2.2.2. Create an Article
- 2.2.3. Copy an Article
- 2.2.4. Removing and Restoring
- 2.2.5. Importing and Exporting
Last we left off in 2.1. Creating a Schema, we were able to create an Article Schema which will be used here. In this chapter, we can now begin to populate the Article Object, ready to use in our admin.
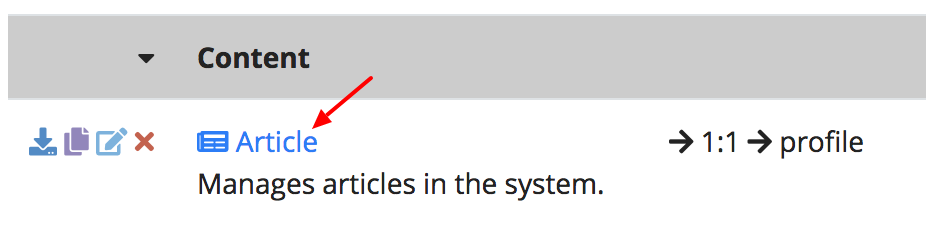
Go back to the Schema Search Page, and click the link described in the image
below. Alternatively you can manually go to
127.0.0.1:8888/admin/system/model/article/search.
Figure 2.2.A. Navigating to Article Search
2.2.1. Article Search
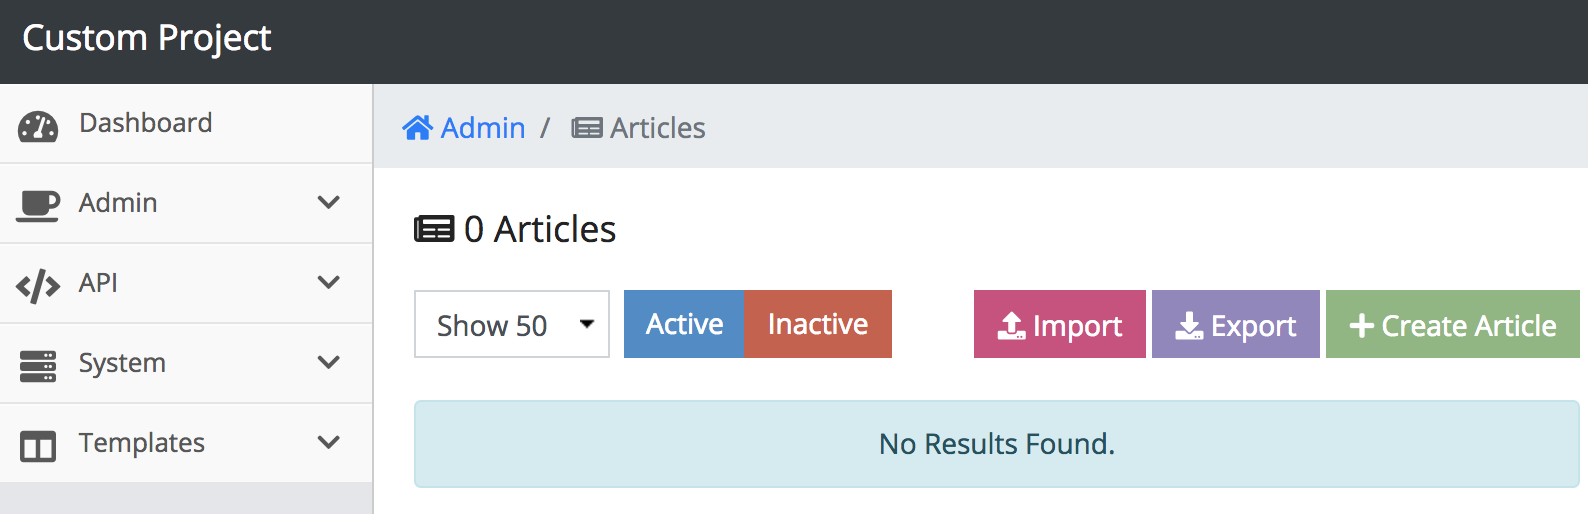
When we visit this page, we see that the there are zero articles created. That is expected since we just finished creating the Article Schema. You will already notice that the icon, singular and plural form in the Article Schema we defined in the last chapter last chapter are used directly on this page. Other buttons and actions found here will be covered later in this chapter.
On the top right of that screen, click the green Create Article button.
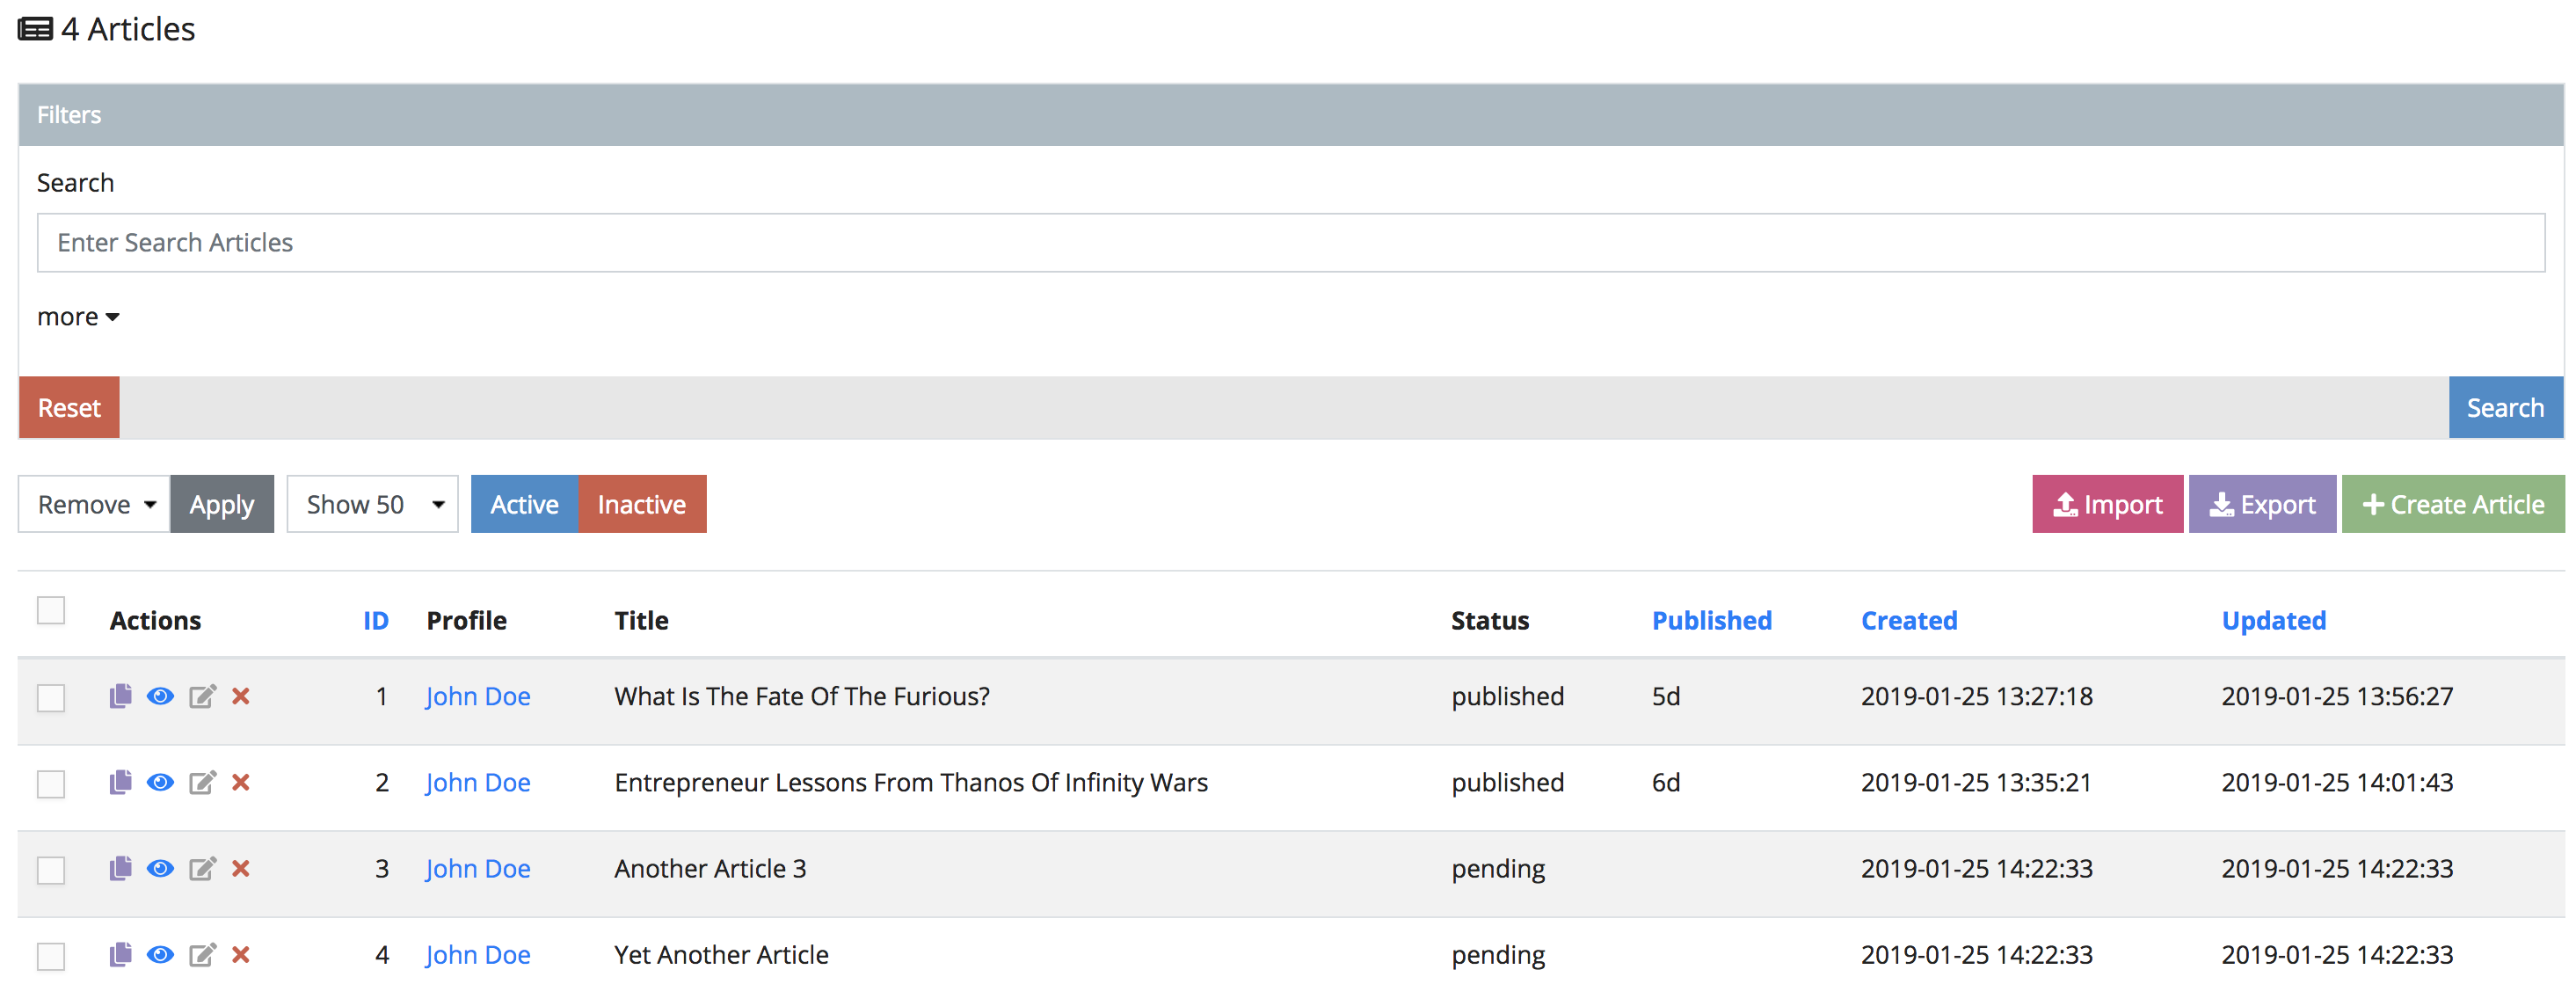
Figure 2.2.1.A. Article Search
2.2.2. Create an Article
The first thing you notice is the Profile Field. This field is here because we
declared that an article has a one-to-one (1:1) relationship with profile covered in the
last chapter. The Profile Field is an
autocomplete field that pulls its data from the Profile Table in the database.
The way it suggests the Profile Name is similarly described in the suggestion
field we covered in the last chapter.
Figure 2.2.2.A. Article Form
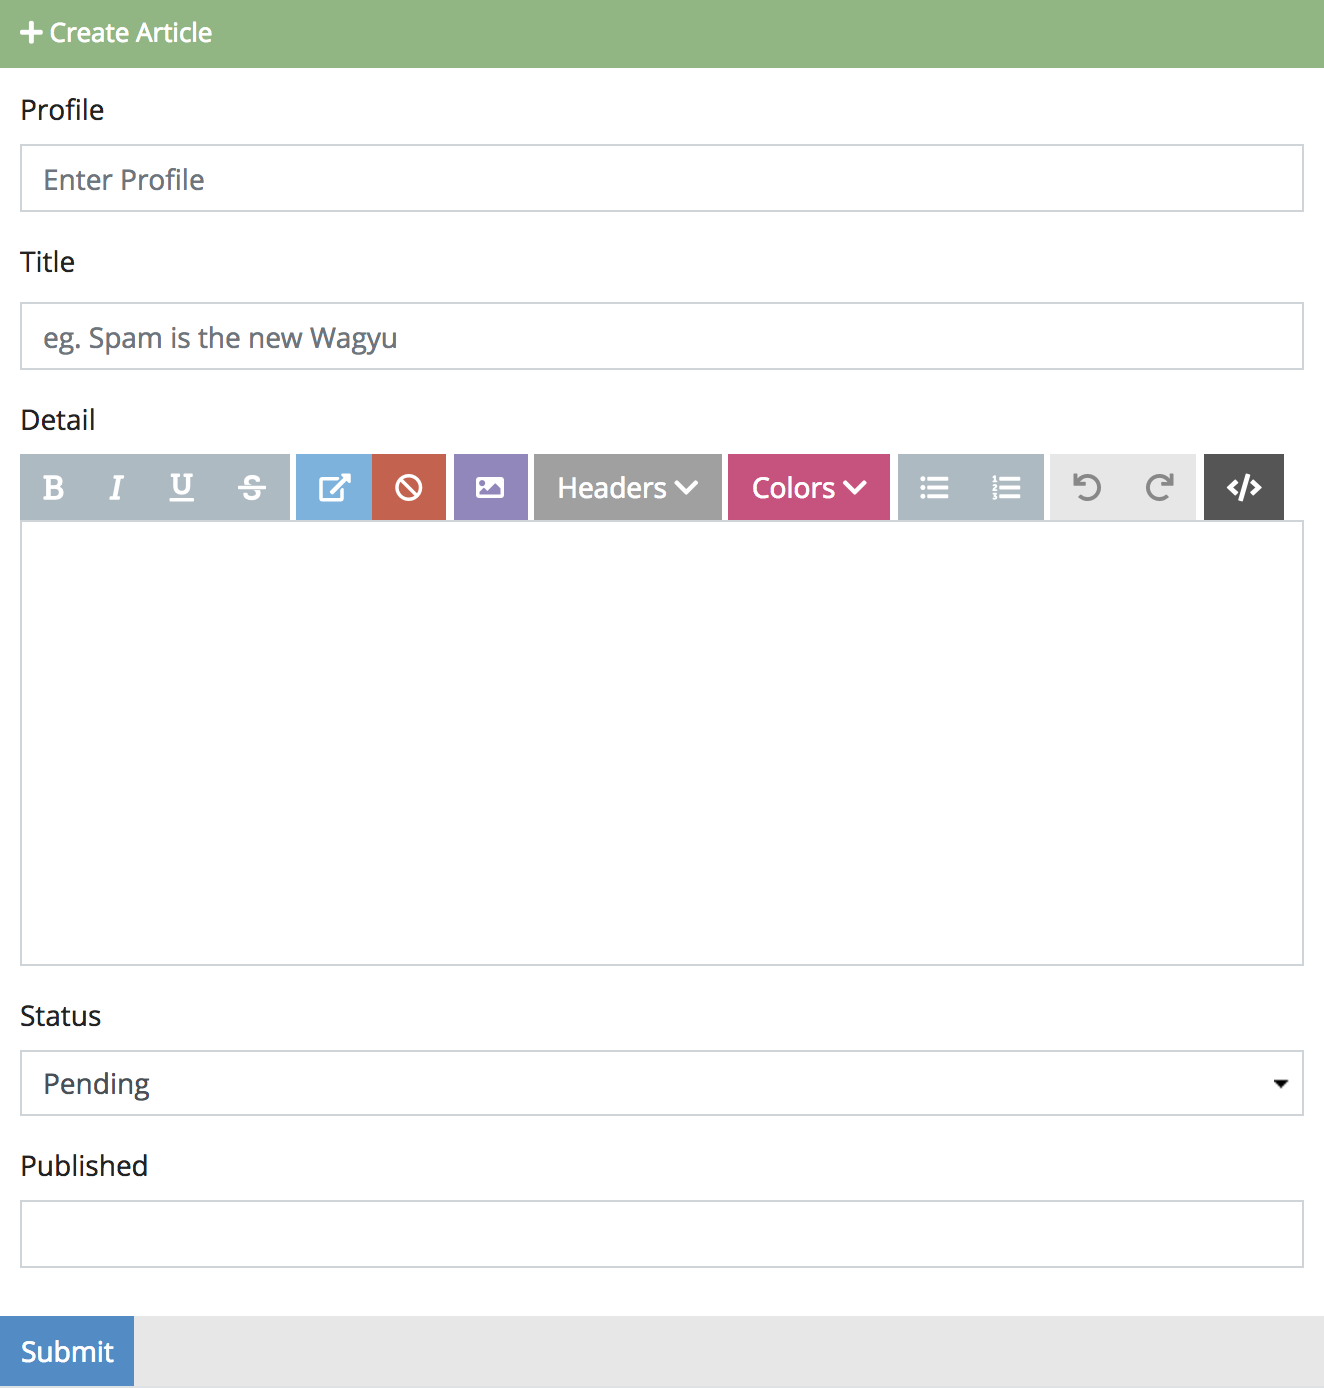
Since we only have one profile, the obvious choice is John Doe. The second
thing you should see is the eg. Spam is the new Wagyu as a placeholder in the
title. This was the same attribute used also in the
last chapter. More information about field
types can be found in 2.A. Reference: Field Types.
Before we continue, let’s submit the form to see what happens.
Figure 2.2.2.B. Article Form Errors
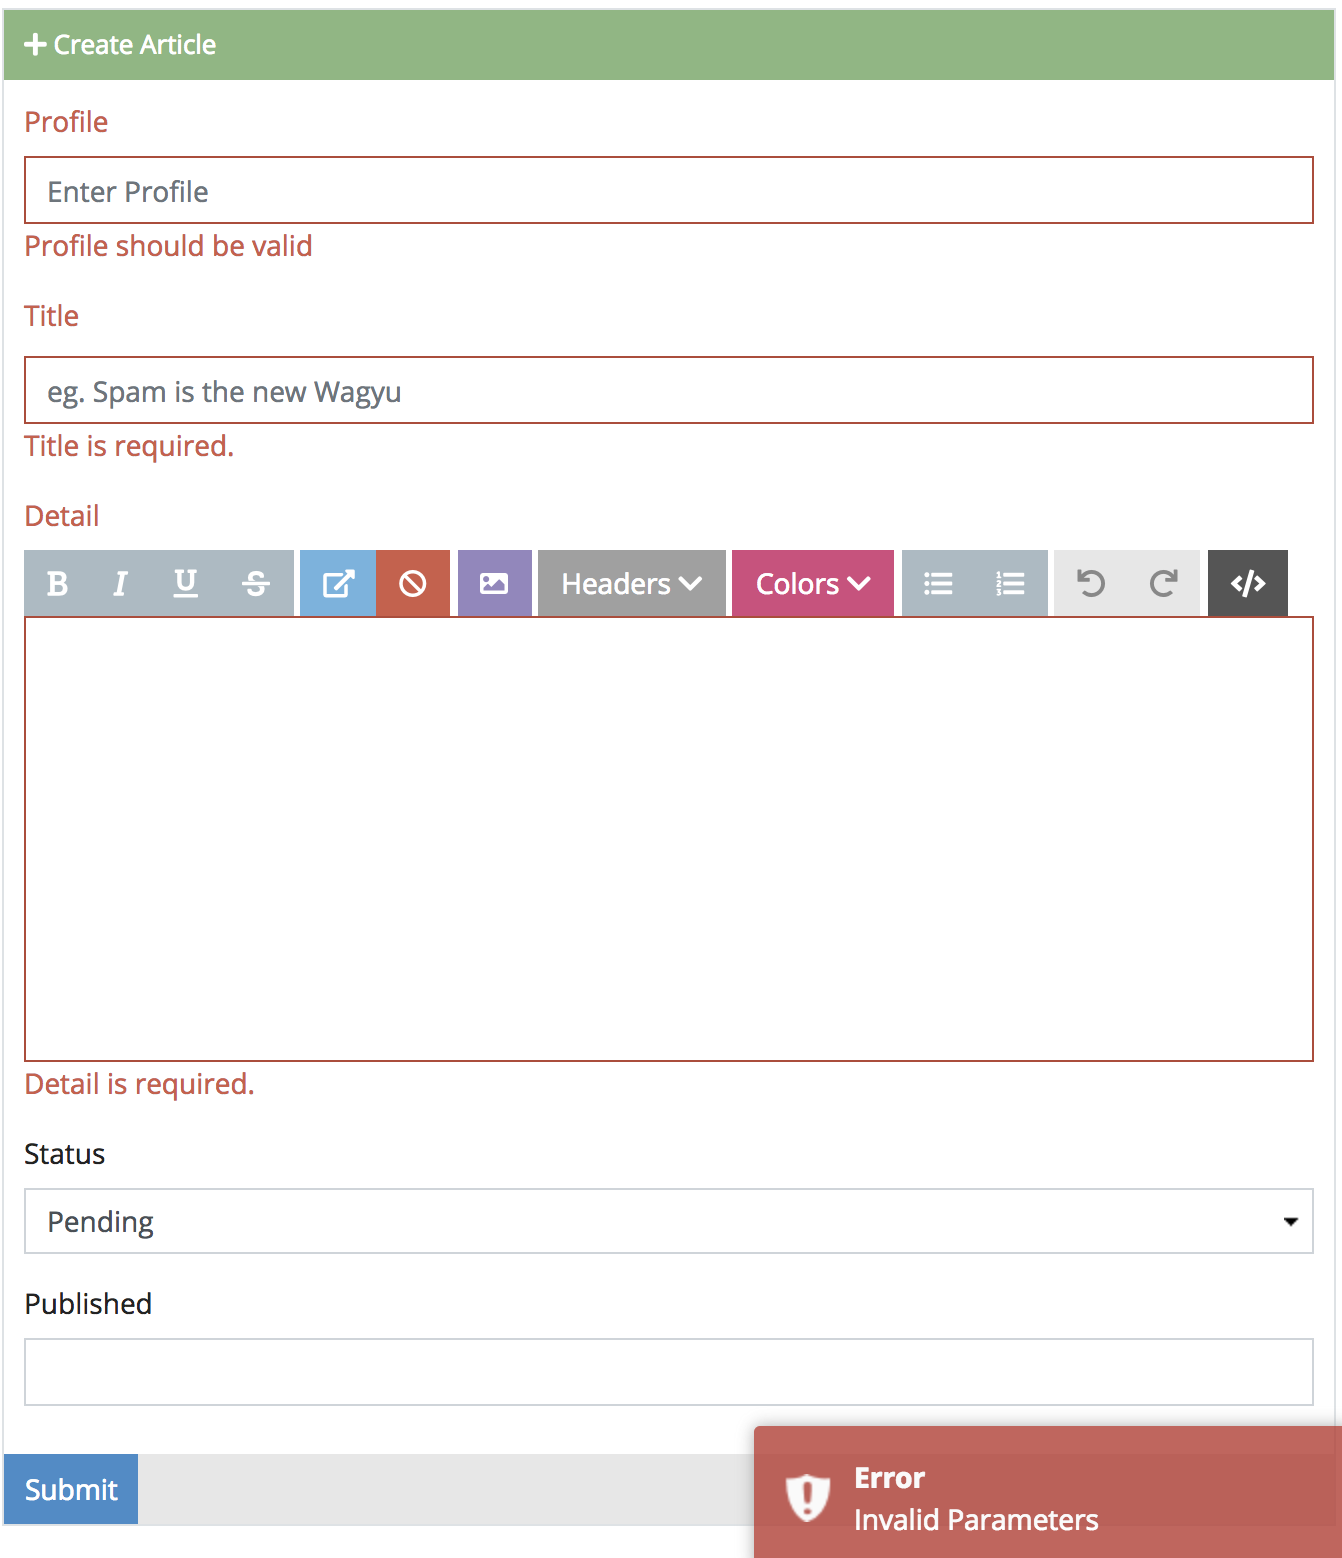
Since we only made the Title and Detail required, those were the only two
custom validation triggers that were fired. Status did not trigger an error,
because pending was a valid choice. Since we made profile a 1:1
relationship it also implies that it is required as well. If you wanted to make
the profile optional, you can go back to your Article Schema and change the
relationship with profile to 1:0 instead.
At any rate let’s continue to populate the first article as planned.
Figure 2.2.2.C. First Article
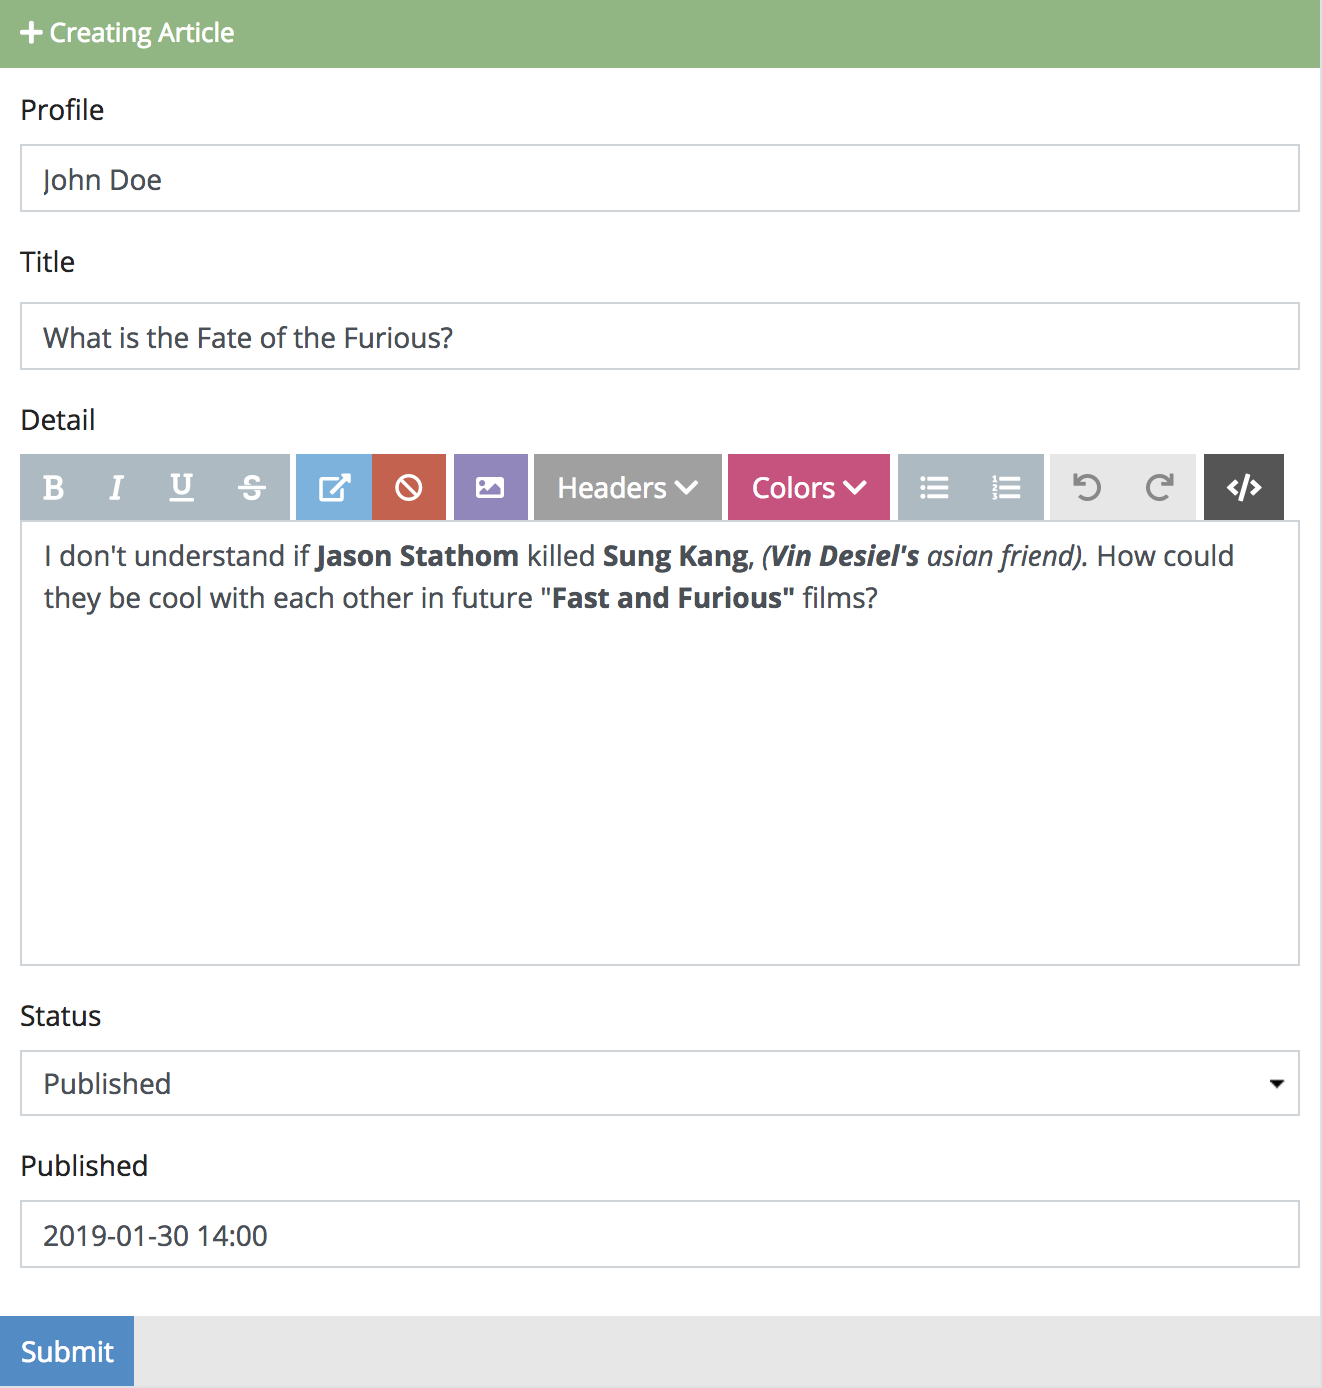
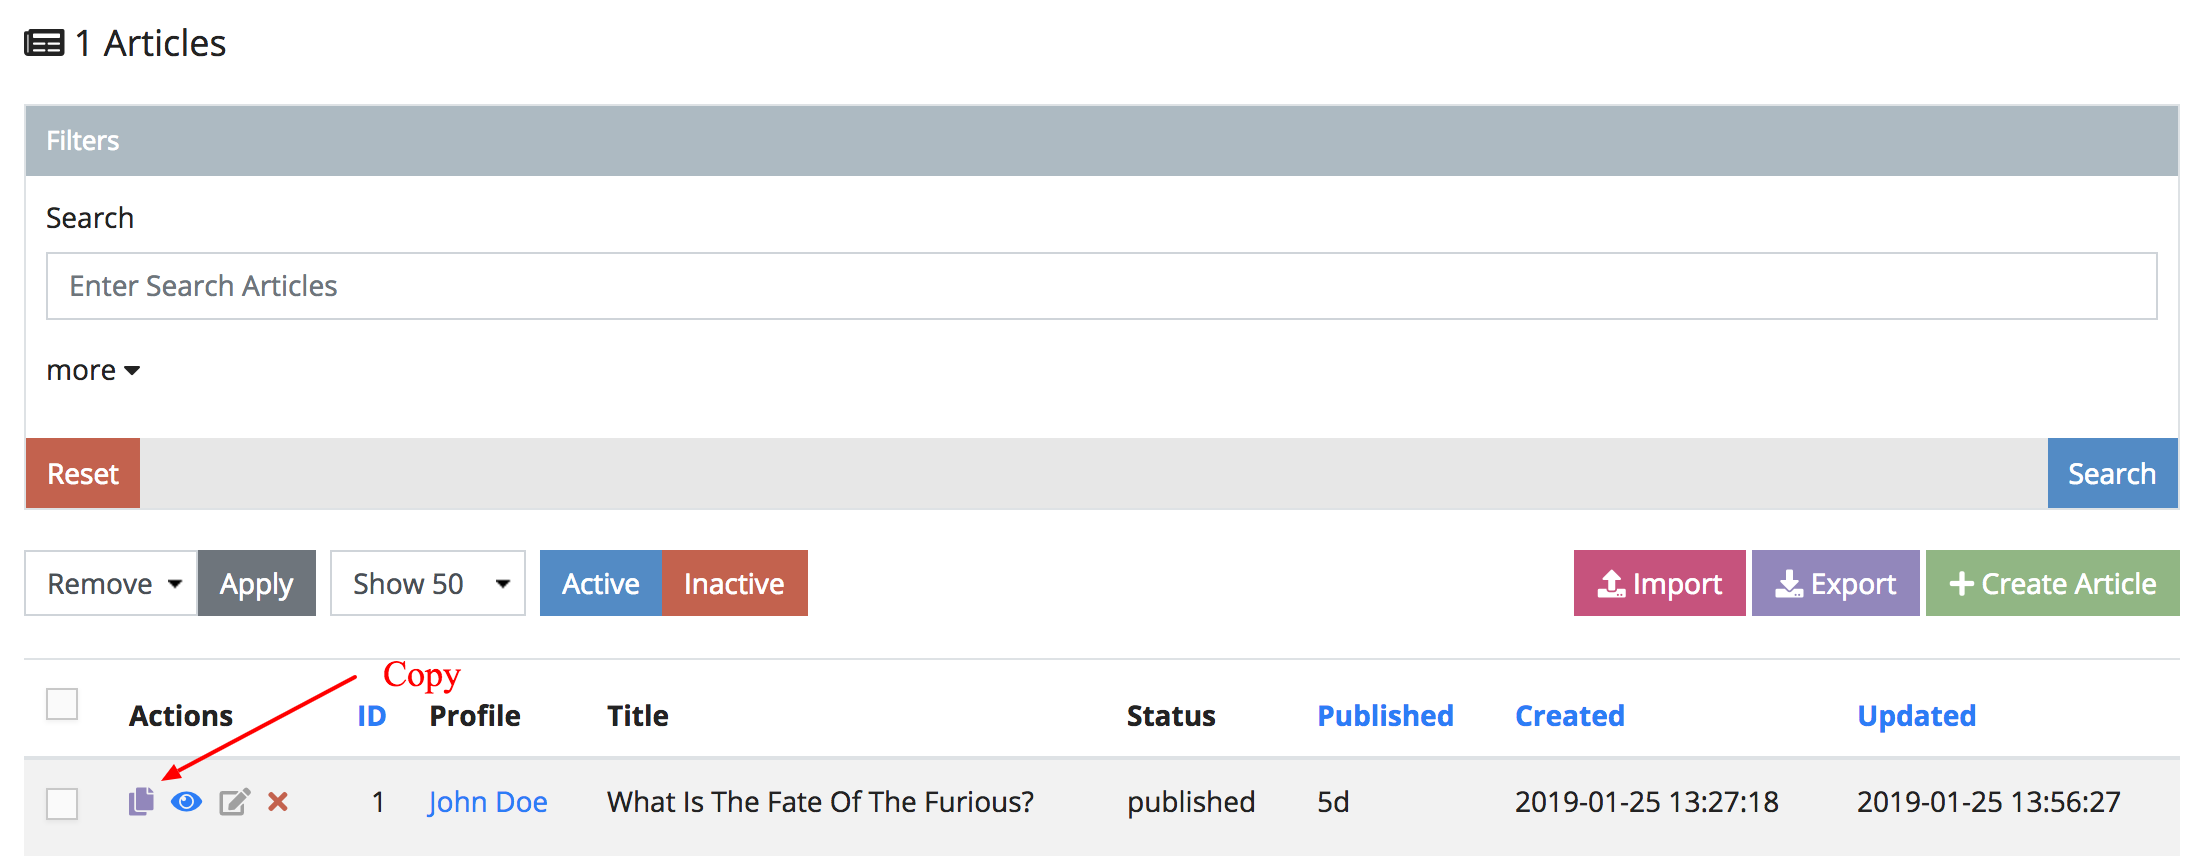
When we press Submit, we should be redirected back to the Article Search Page showing our new entry. On the left side of our entry, we see mini action icons that perform particular actions for that row. Those actions are described below in order from left-to-right.
- Copy - (purple); Copies the Article Object
- View - (blue); Redirects to the Article Detail Page
- Edit - (grey); Redirects to the Article Update Form
- Remove - (red); Removes the Article Object
INFO: If you forget what those actions do per row, just hover over it and the
browser default tooltip will remind you.
2.2.3. Copy an Article
To the far left of the row action column there is a purple icon when clicked, will redirect you to the Create Article Page, but populate the form with the contents of that row. This is called the copy action.
Figure 2.2.3.A. Copy Action
Go ahead and click it. From here we can just simply change the Title, Detail and leave the rest as is.
Figure 2.2.3.B. Second Article
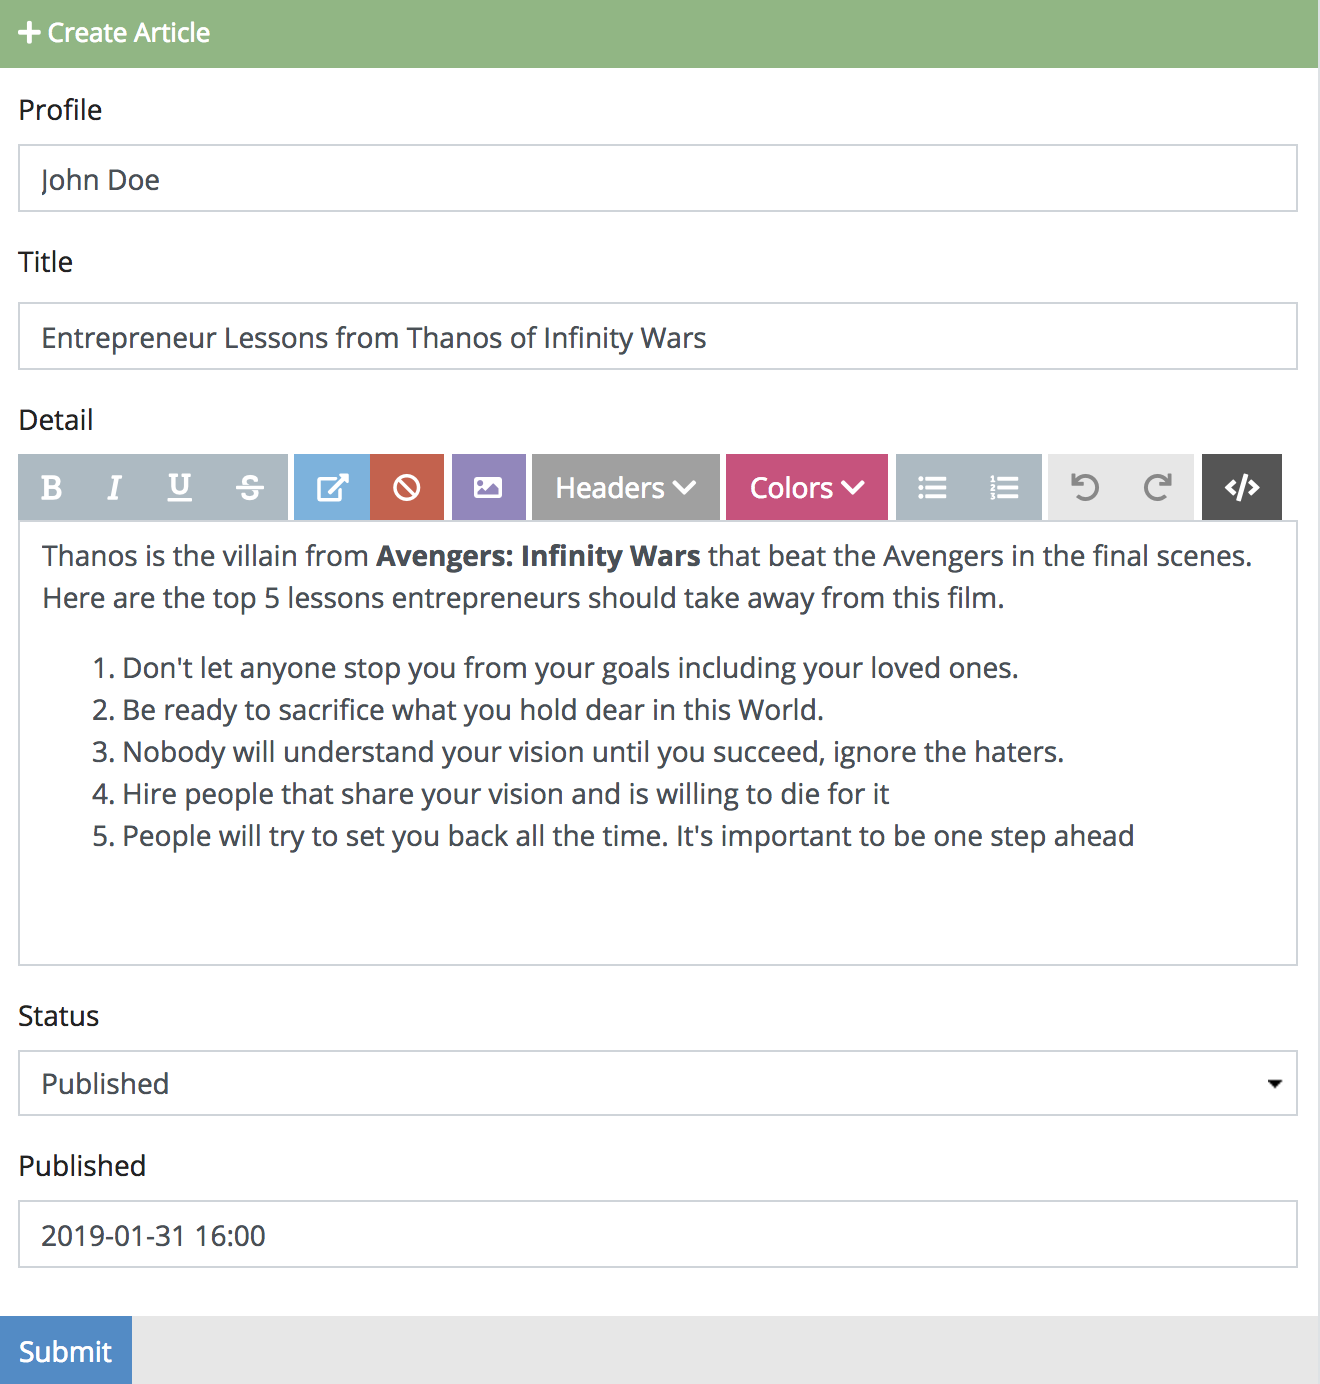
When we press Submit, we should be redirected back to the Article Search Page
showing our new copied entry.
2.2.4. Removing and Restoring
Article Objects can be removed and restored as well. The ability for an object to be restorable depends on whether you added the special Active field type in your schema.

Since we did that in the last chapter, we are free to remove articles without fear of permanently removing them.
WARNING: If you did not make an Active Field in your Article Schema, removing your
Article Object will permanently remove it. In other words, there's no going back.
Figure 2.2.4.A. Remove Action
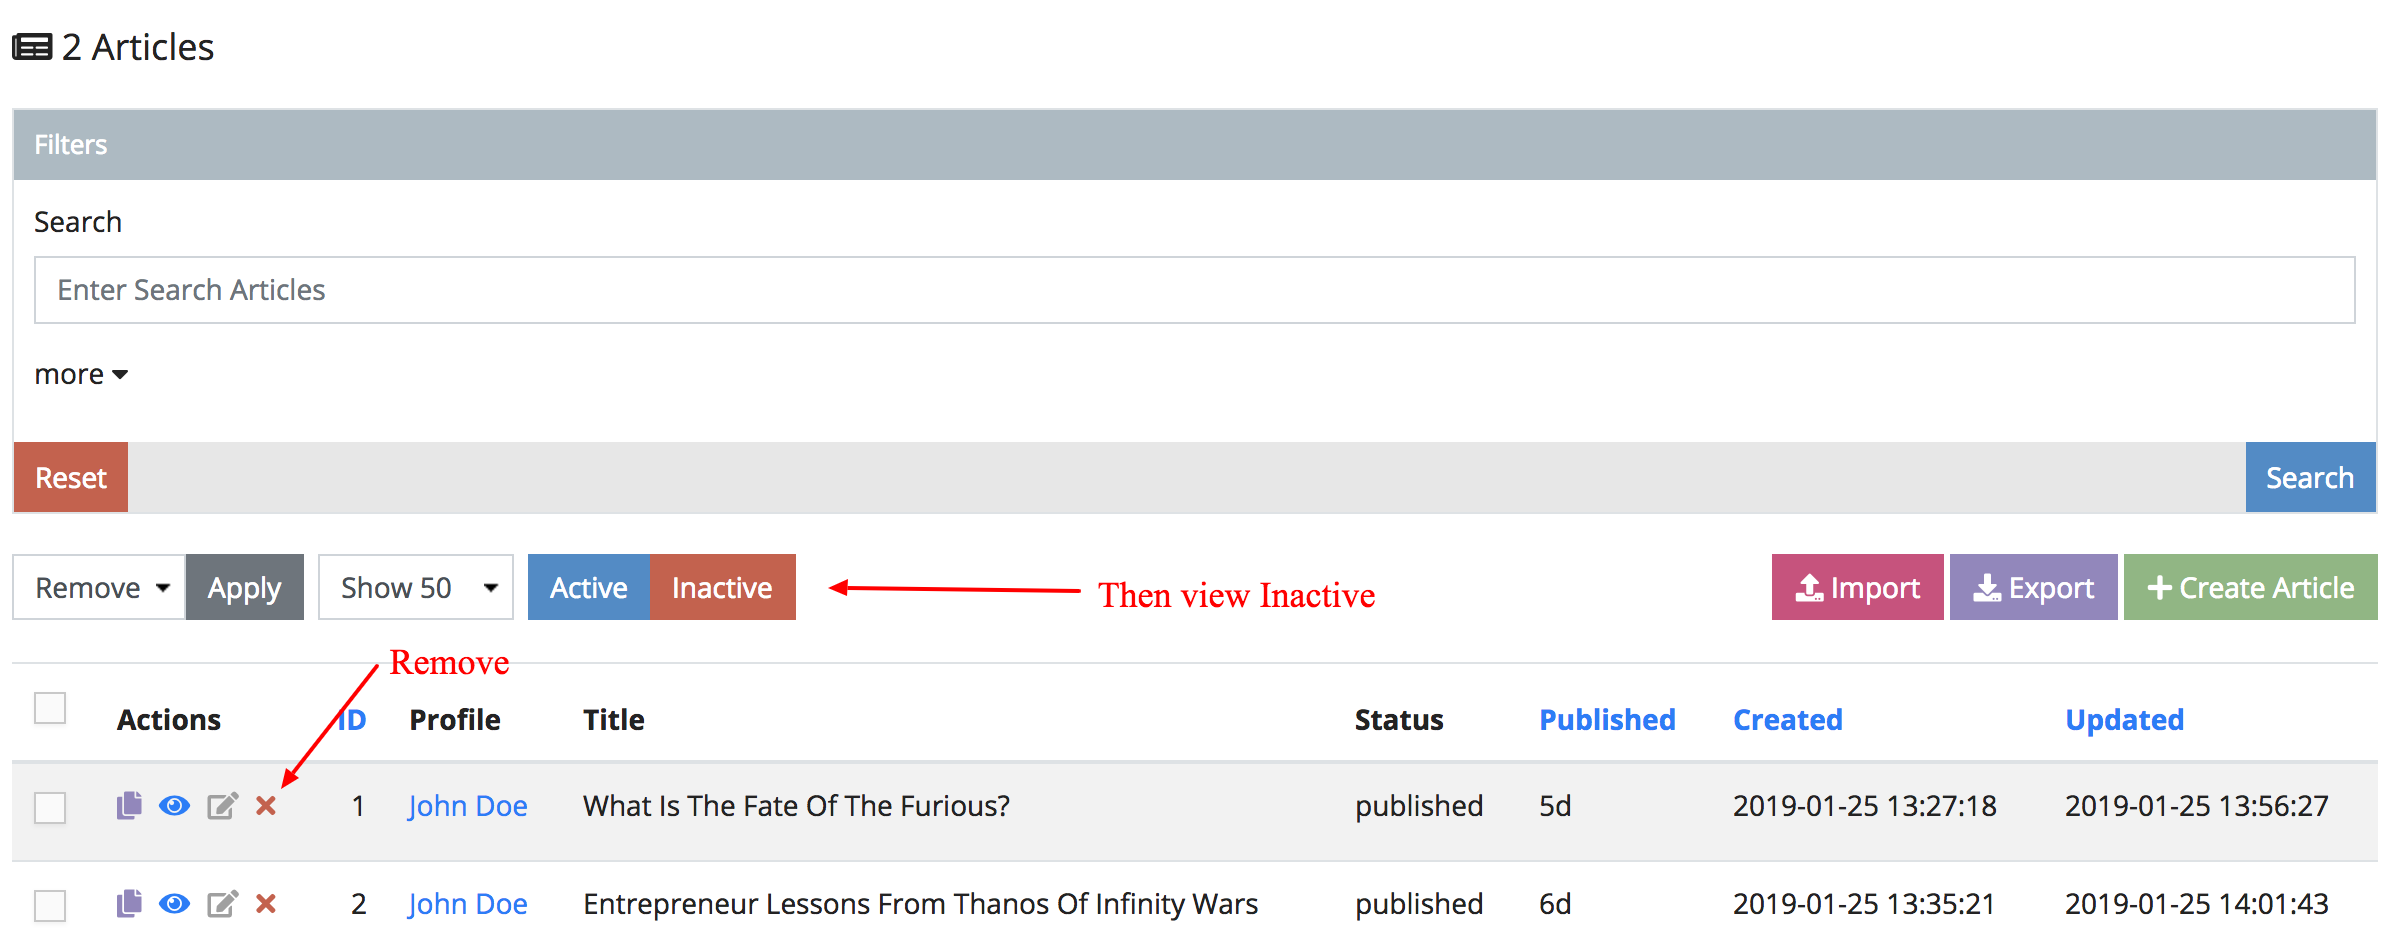
Go ahead and remove an Article Object, then click the Inactive Tab after. You should be able to see your removed article in this list as shown in the image below.
Figure 2.2.4.B. Restore Action
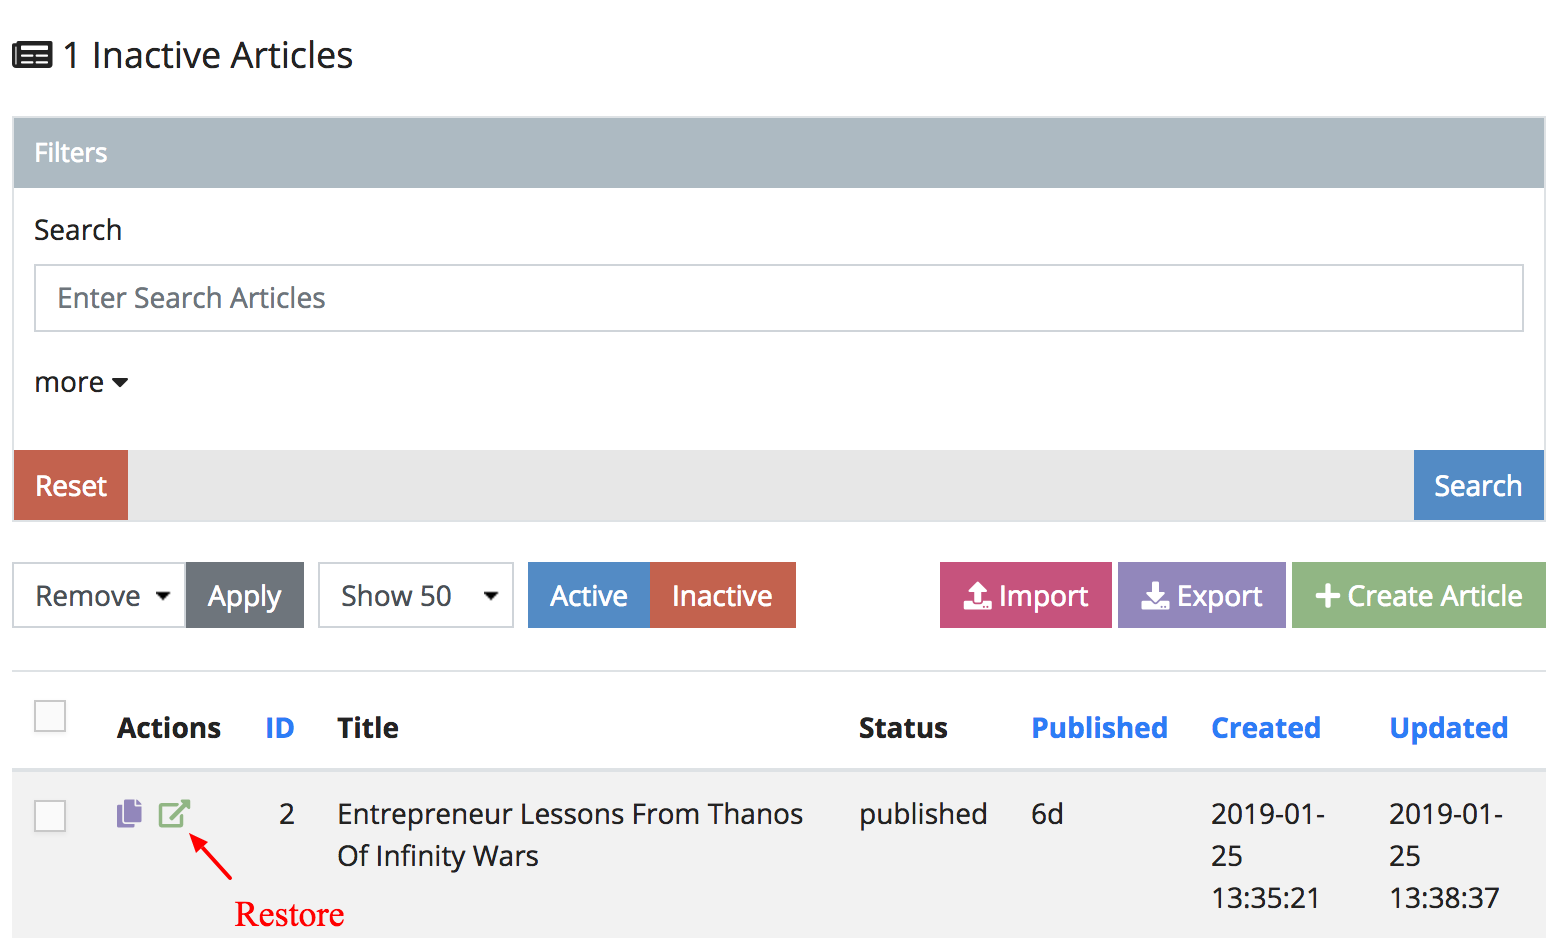
If you would like to restore the article once again, just click the green icon on the left to restore it.
INFO: After clicking that, you might be confused why the Article Search Page is
now empty. This is because you are still in the Inactive Tab.
2.2.5. Importing and Exporting
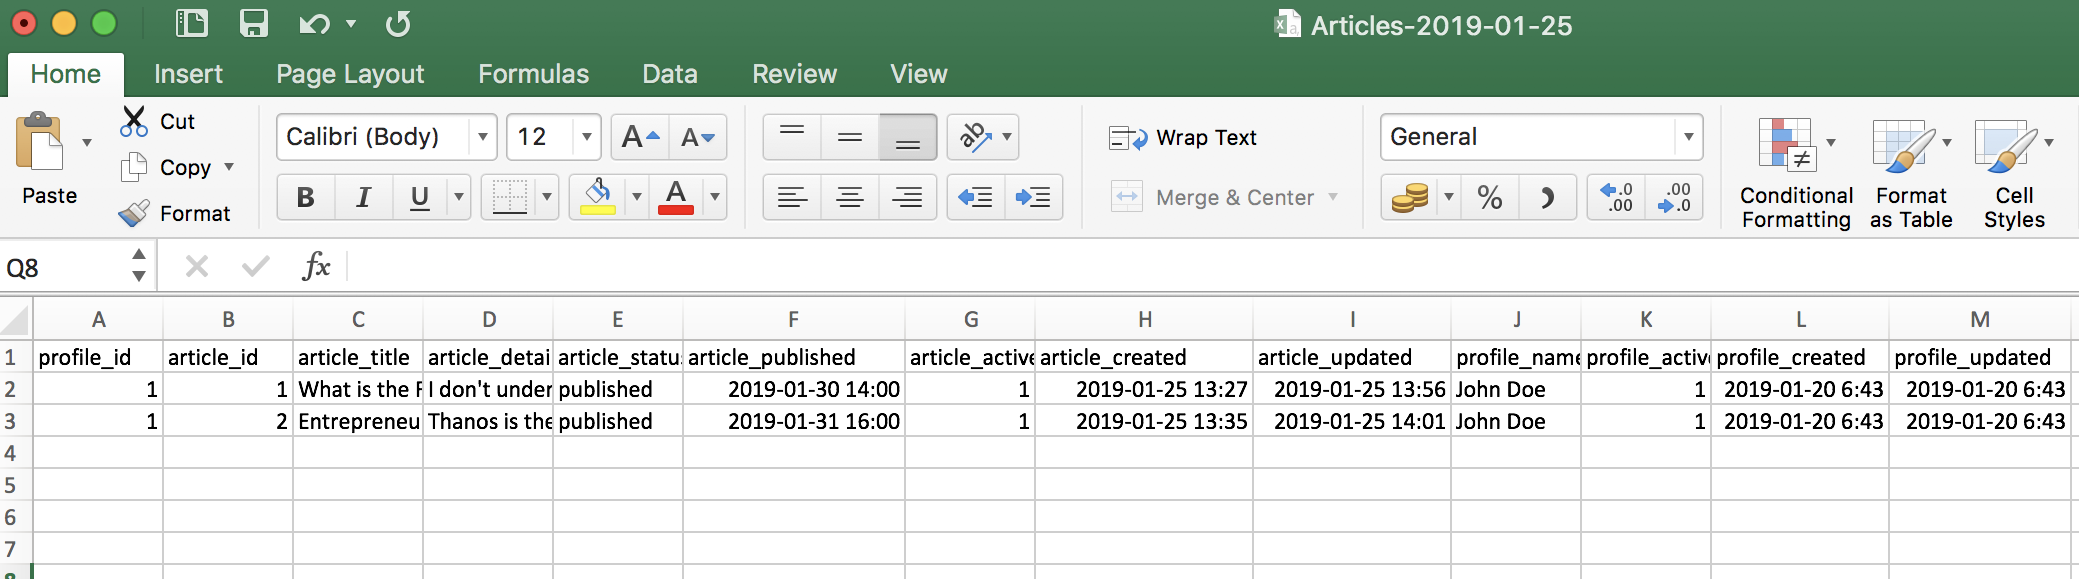
On the top right of the Article Search Page next to Create Article you should see a purple button called Export. Clicking this will create a CSV file of your results and cause your browser to download it. Opening this file you can see the data as shown similarly below.
Figure 2.2.5.A. Exporting Tool
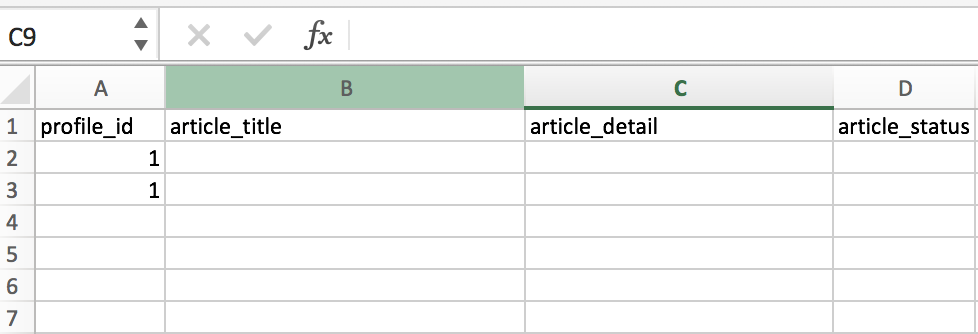
Sometimes when manipulating mass amounts of data at the same time (bulk action) it’s easier working on just one file and importing into the system. Before we import the file back up, let’s remove unnecessary columns. These include the following.
article_id- Since IDs are automatically generated, there’s no need to specify. Alternatively you can keep it here, but it will update that article instead.article_published- Since we will be creating pending articles, and according to our Article Schema, it’s not required as well.article_active- Creating an article will automatically set this to 1. Unless our intention is to remove articles, you can set it to 0.article_created- The system won’t allow you to change this manually.article_updated- The system won’t allow you to change this manually.profile_name- Since we are importing in the Article Search Page, profile changes will be ignored.profile_active- Since we are importing in the Article Search Page, profile changes will be ignored.profile_created- Since we are importing in the Article Search Page, profile changes will be ignored. The system won’t allow you to change this manually anyways.profile_updated- Since we are importing in the Article Search Page, profile changes will be ignored. The system won’t allow you to change this manually anyways.
This should leave you with the columns described like the image below.
Figure 2.2.5.B. Removing Unnecessary Columns
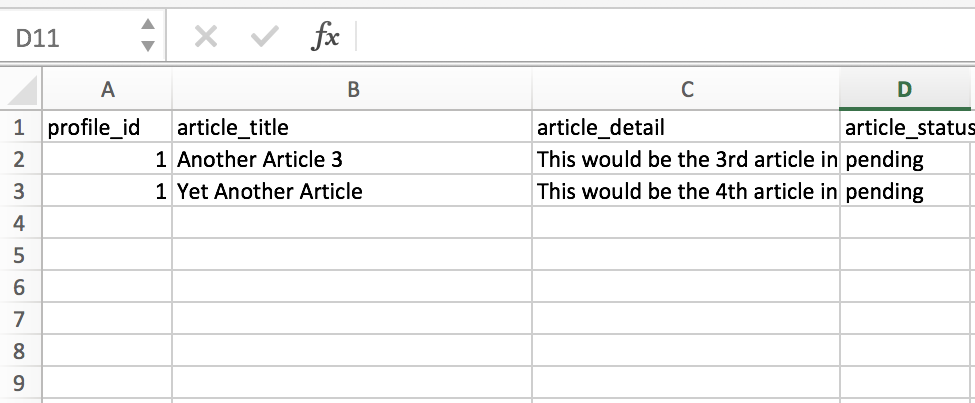
We can now add any additional articles to the CSV file like the example below. Feel free to add more if you like.
Figure 2.2.5.C. Adding Rows
When we are happy with our CSV file, click the pink Import button next to the Export button in the Article Search Page. Choose the file we just worked with and click Open. This will upload the imported file and begin to bulk create Article Objects.
WARNING: Make sure it is a .csv file, not a .xls or .xlsx
Figure 2.2.5.D. Imported Rows
2.2.6. Conclusion
In this chapter we covered how to work with Articles. If schemas contain information about objects, we use objects and models synonymously. This section can be generically applied to any model you want populated in the admin. In the next section 2.3. Working with Relations, we will discover how models relate to each other, relationship types and how to they are perceived in the admin.