2.5. Roles & Permissions
In the last chapter 2.4. Adding Menu Items, brought up some questions about how to work with roles and permissions. In this chapter, we will understand how these role work within the system.
2.5.1. Creating a New Admin
Before we play with roles, we should make a new user to make sure we don’t mess
up our current account. Let’s first go to
http://127.0.0.1/admin/system/model/profile/search. You can also use the admin
navigation to the left by opening the Admin menu drop down and selecting
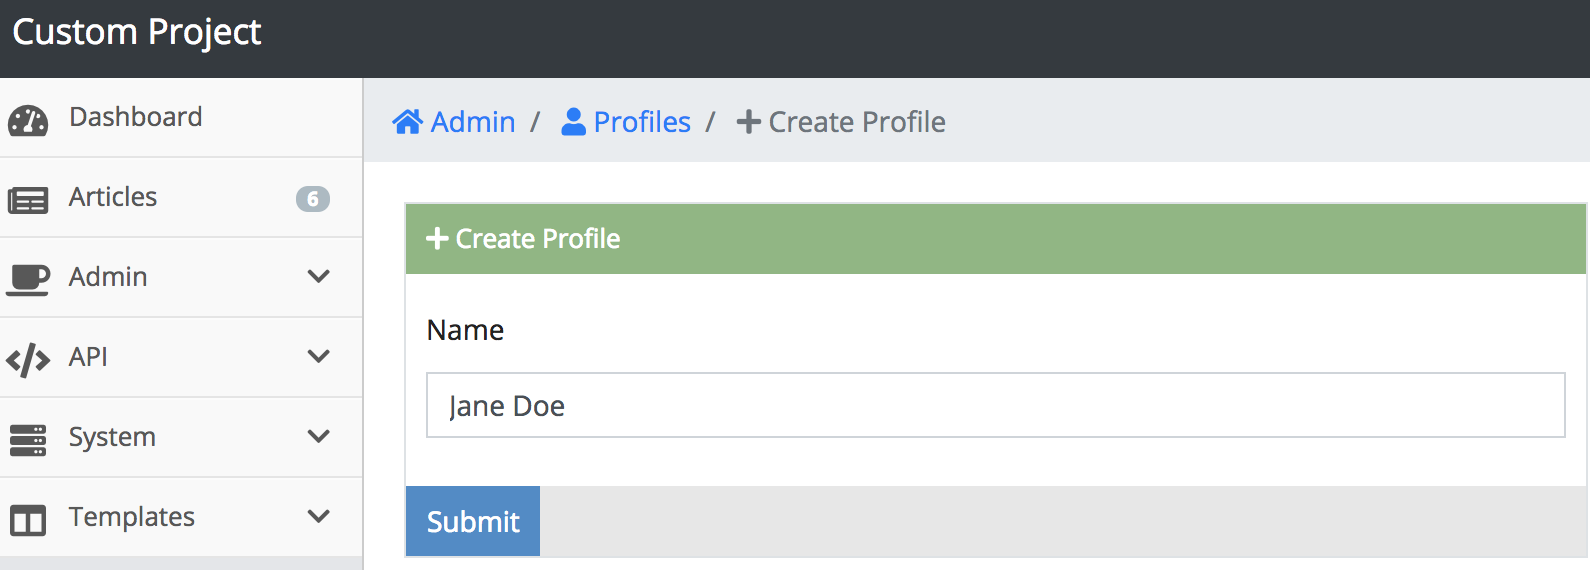
Profile. From there, click the Create Profile on the top right.
Figure 2.5.1.A. Creating a User

As you can see there is only one field that needs to be filled out. Let’s name
our first profile Jane Doe and submit.
In the system, users are separated by two objects, Profile and Authentication. This is because we should separate user data to the ones that could be publicly available data in such as name, image, gender going to Profile and sensitive information like email, phone, password going to Auth. We don’t want to accidentally leak out the Auth table.
Figure 2.5.1.B. Hello Jane Doe
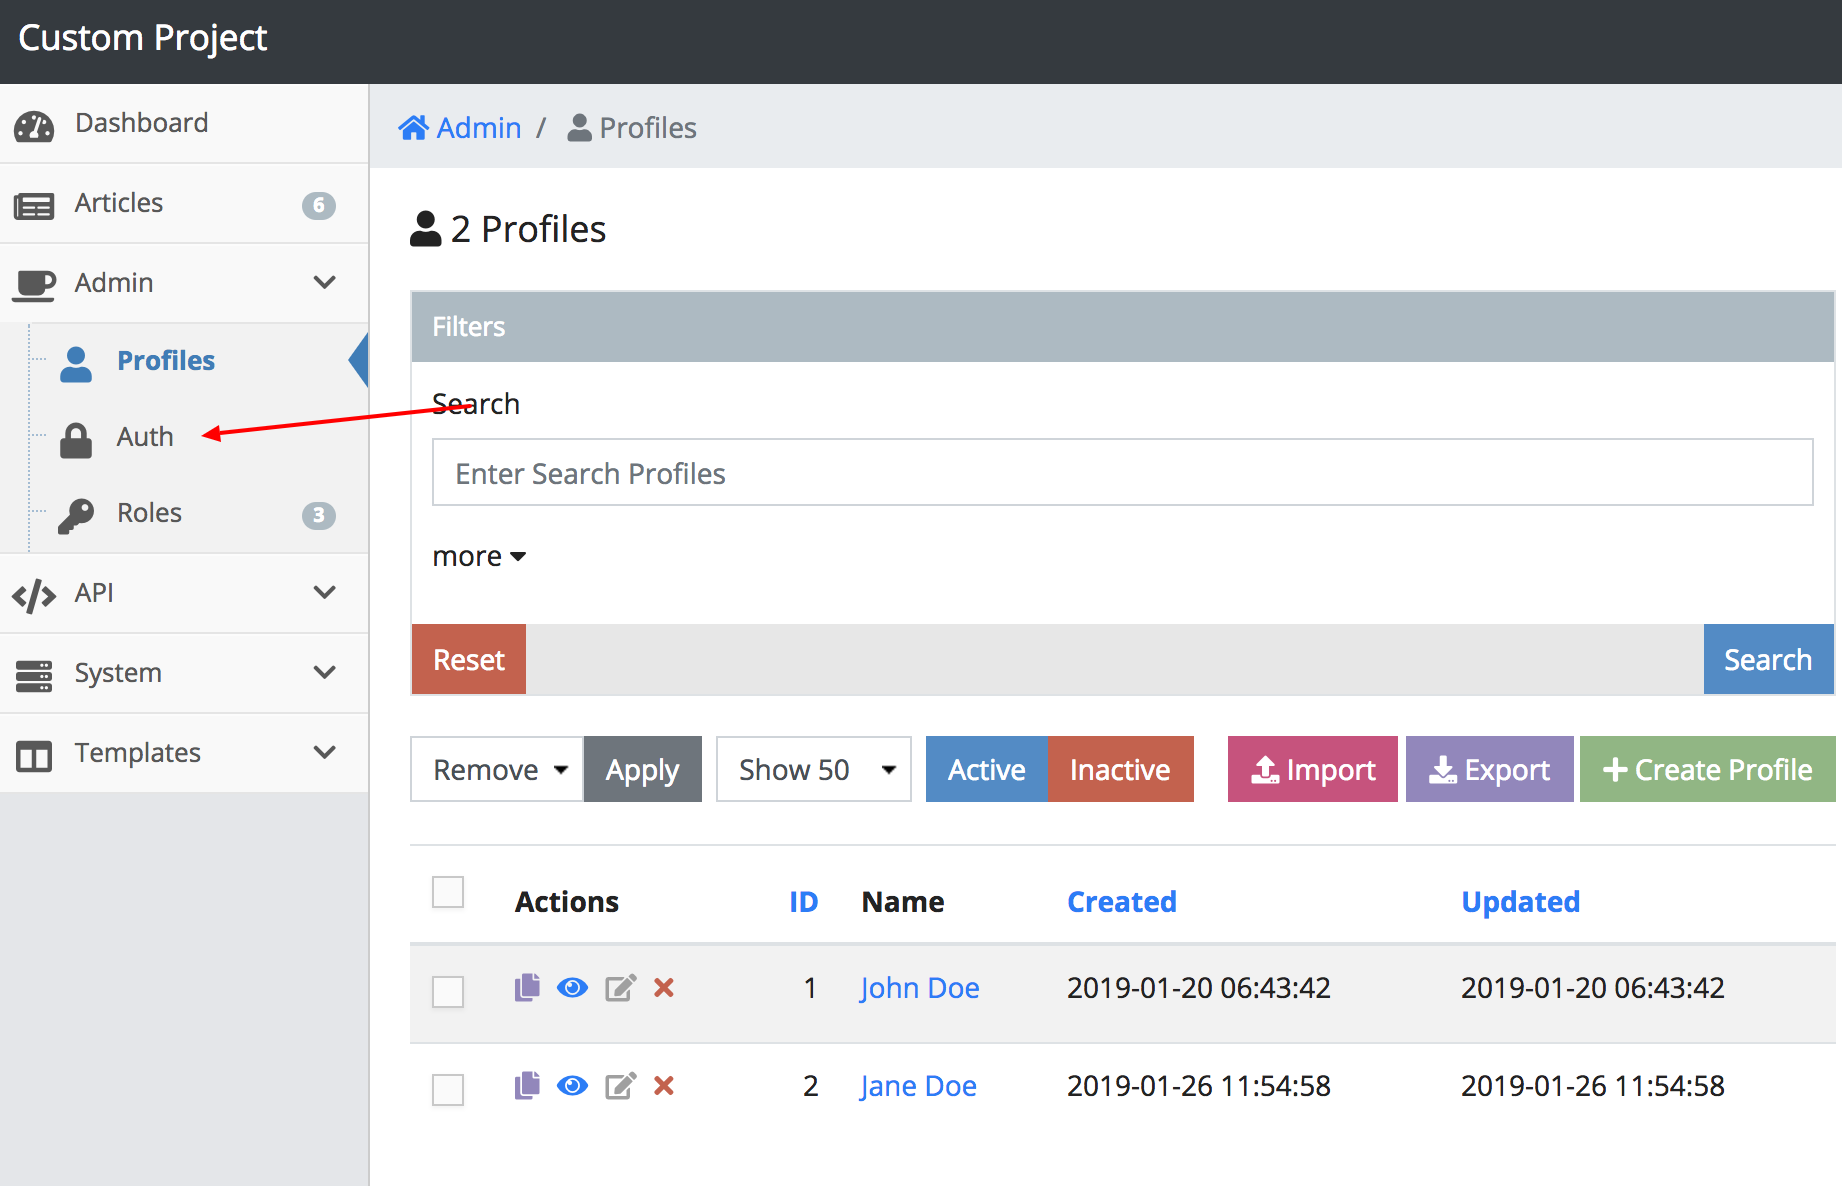
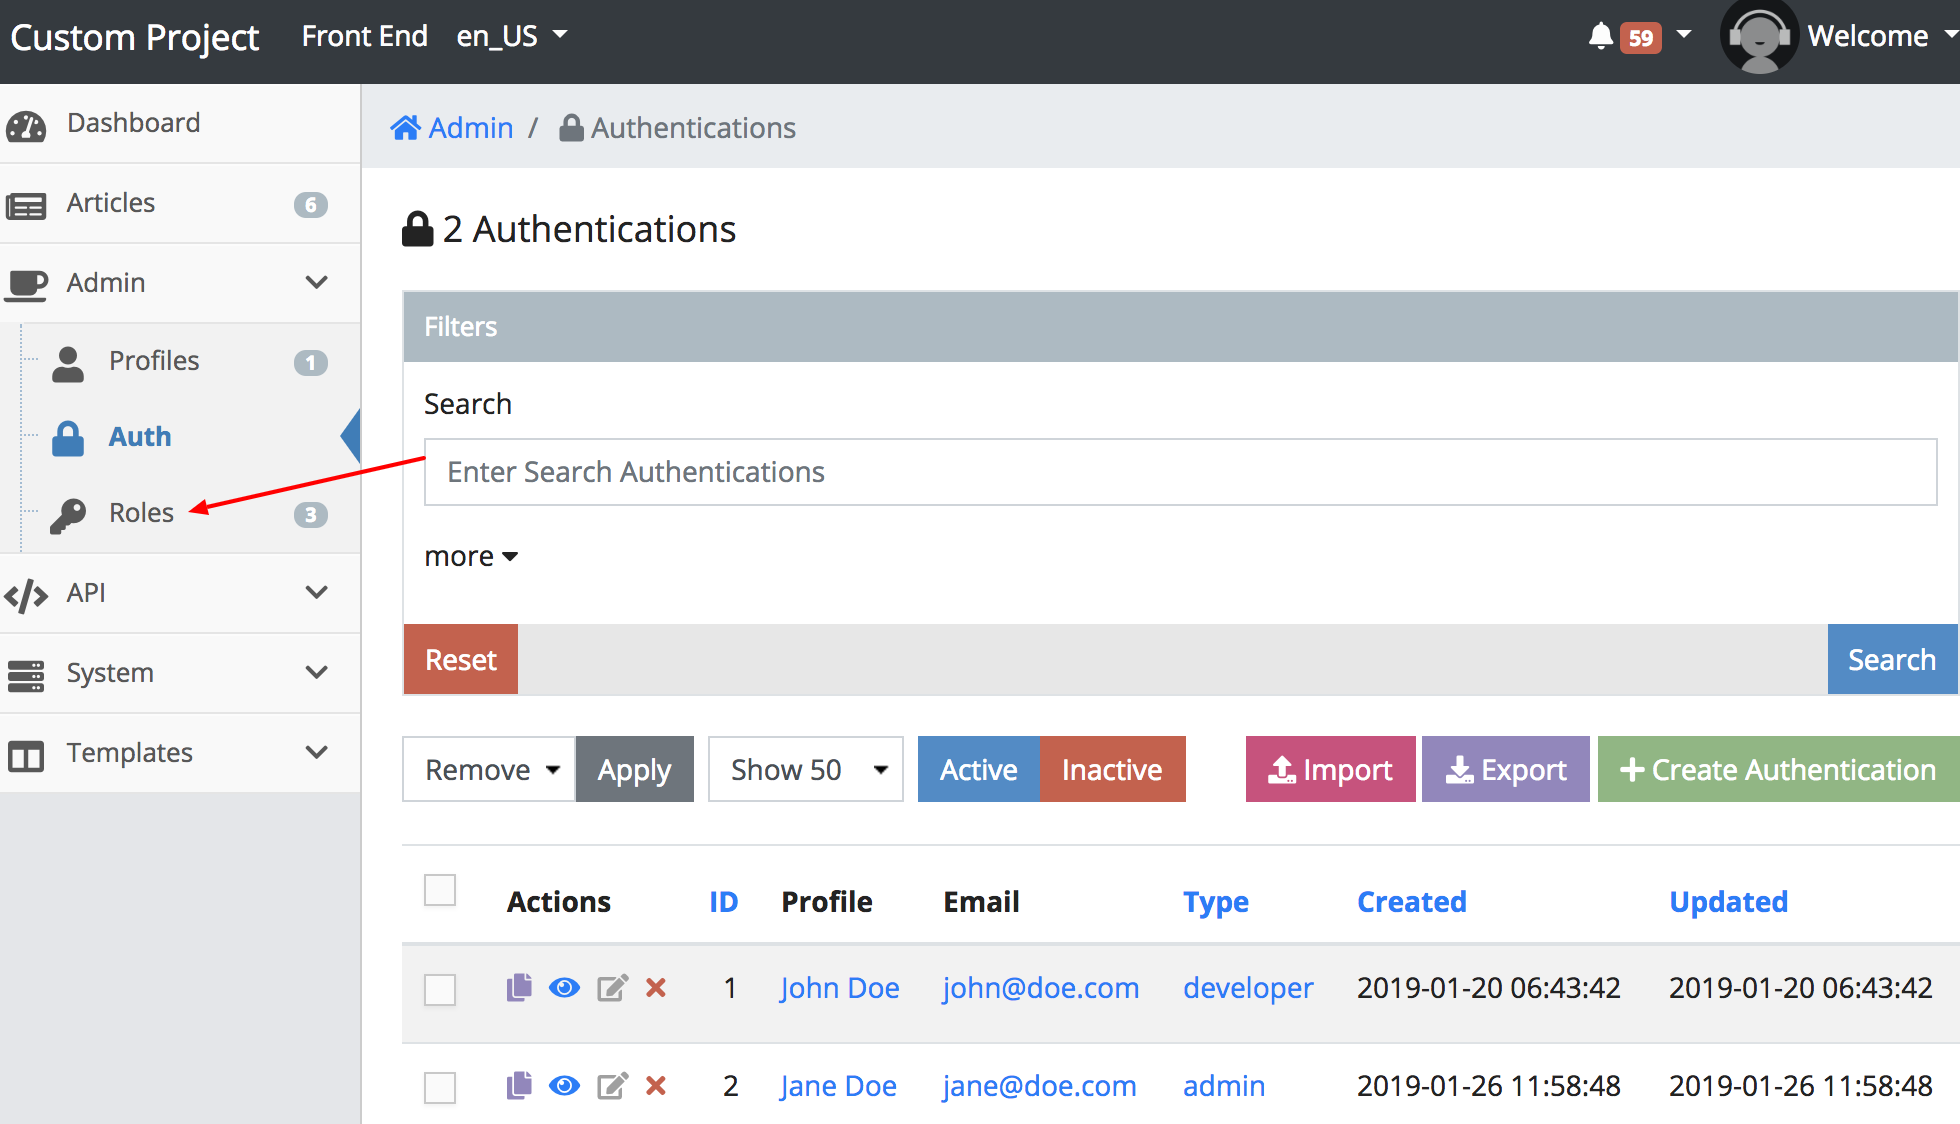
The next thing to do is go to http://127.0.0.1/admin/system/model/auth/search.
You can also use the admin navigation to the left by opening the Admin menu
drop down and selecting Auth.
Figure 2.5.1.C. Navigating to Auth
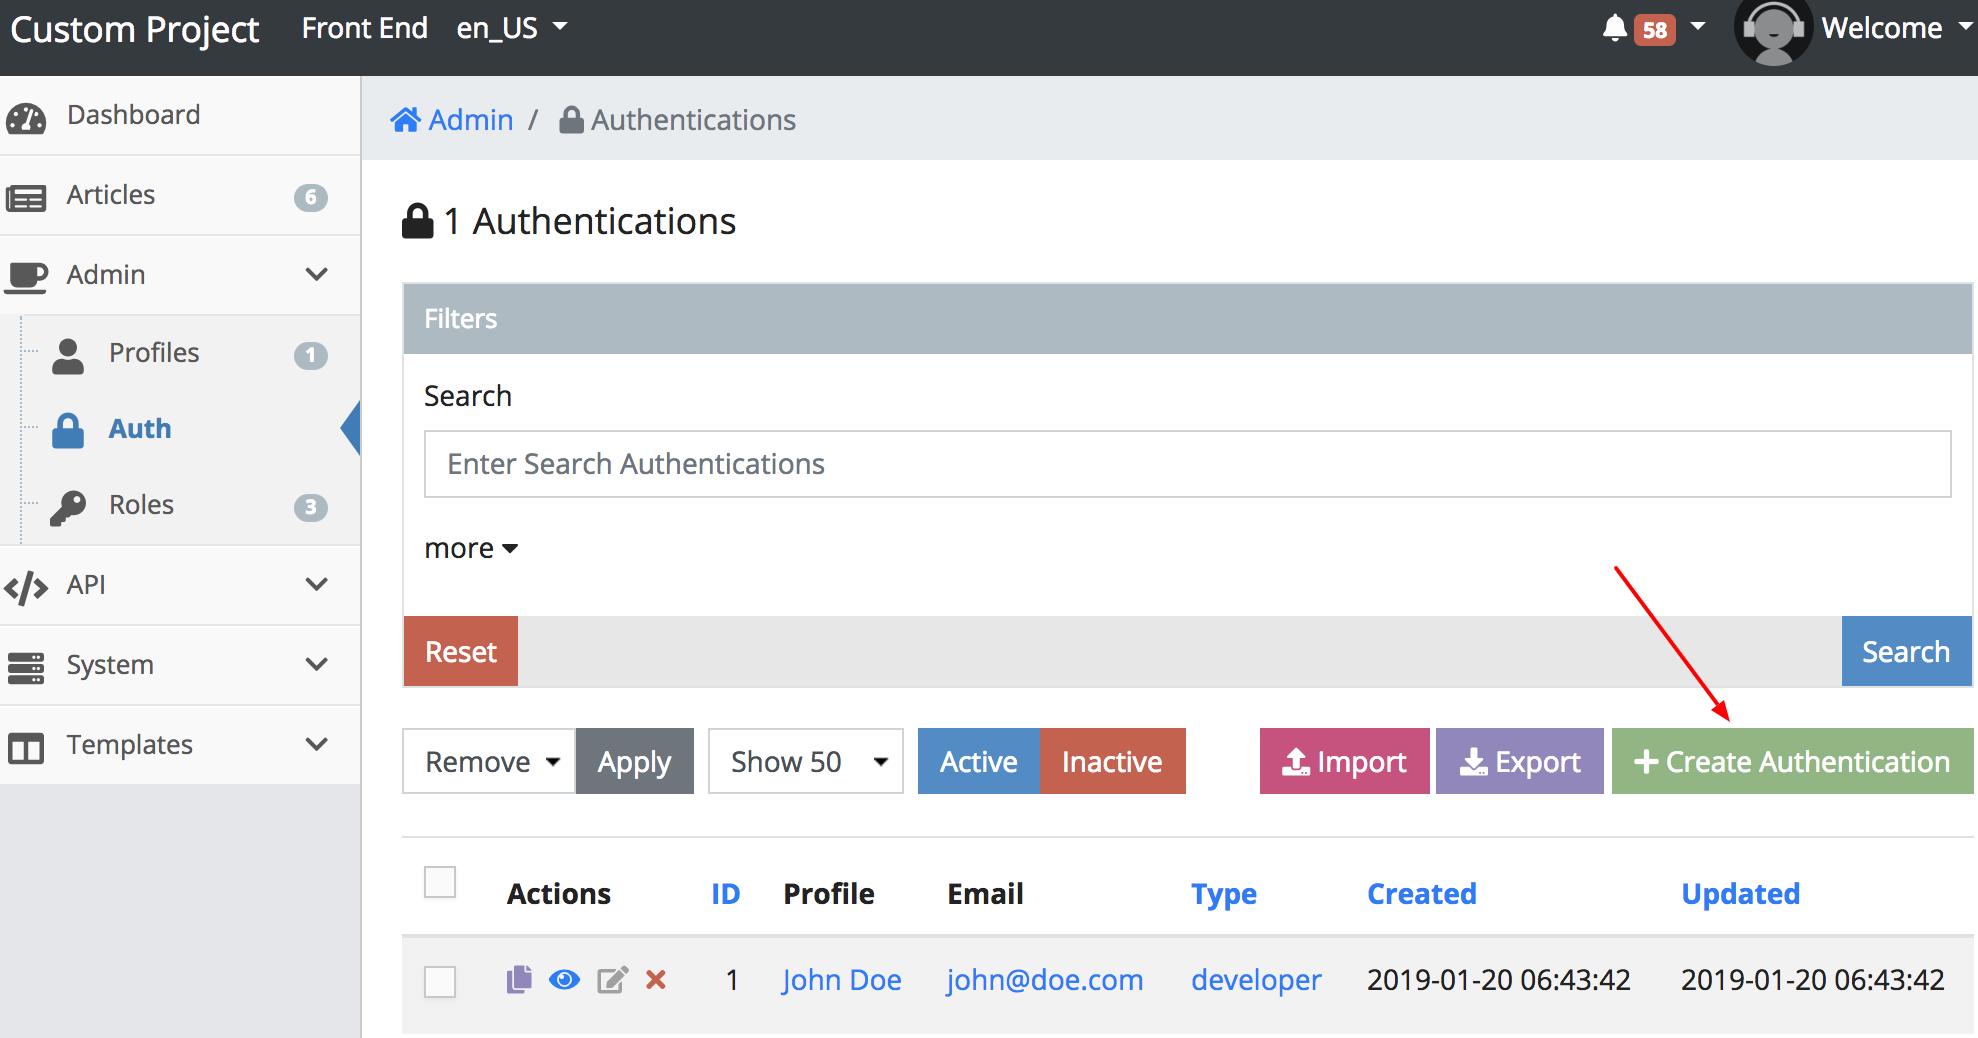
Click the Create Authentication on the top right.
Figure 2.5.1.D. Creating an Authentication
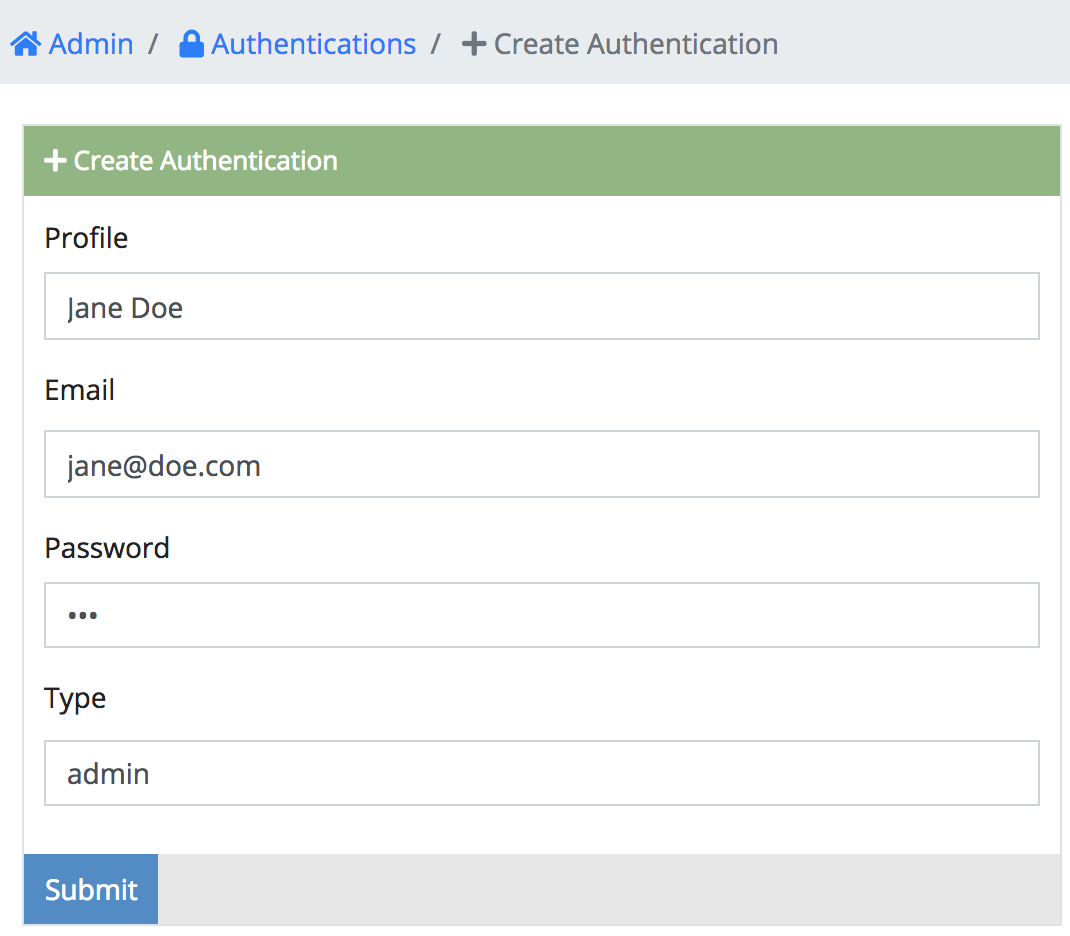
The following items outline what these fields are and what to enter.
- Profile - The profile entry; “an Auth should have a Profile”;
Enter
Jane Doe - Email - This is the log in info; Enter
jane@doe.com - Password - This is the log in password; Enter
123 - Type - This is the role that will be assigned; Enter
admin
If you entered the fields correctly it should look like the image below. Go ahead and submit the form.
Figure 2.5.1.E. Jane’s Authentication
The next thing to do is go to http://127.0.0.1/admin/system/model/role/search.
You can also use the admin navigation to the left by opening the Admin menu
drop down and selecting Role.
Figure 2.5.1.F. Navigating to Roles
2.5.2. Managing Permissions
The system comes with three predefined roles that shouldn’t be removed. The following items outlines these roles.
developer- Used for developers making schemas, server ops screens and setting up the adminadmin- Used for administration in charge of populating and managing the admin.guest- By default all users (even logged off) get this role. This only allows front end access.
Changing developer permissions could lock you out of the admin.
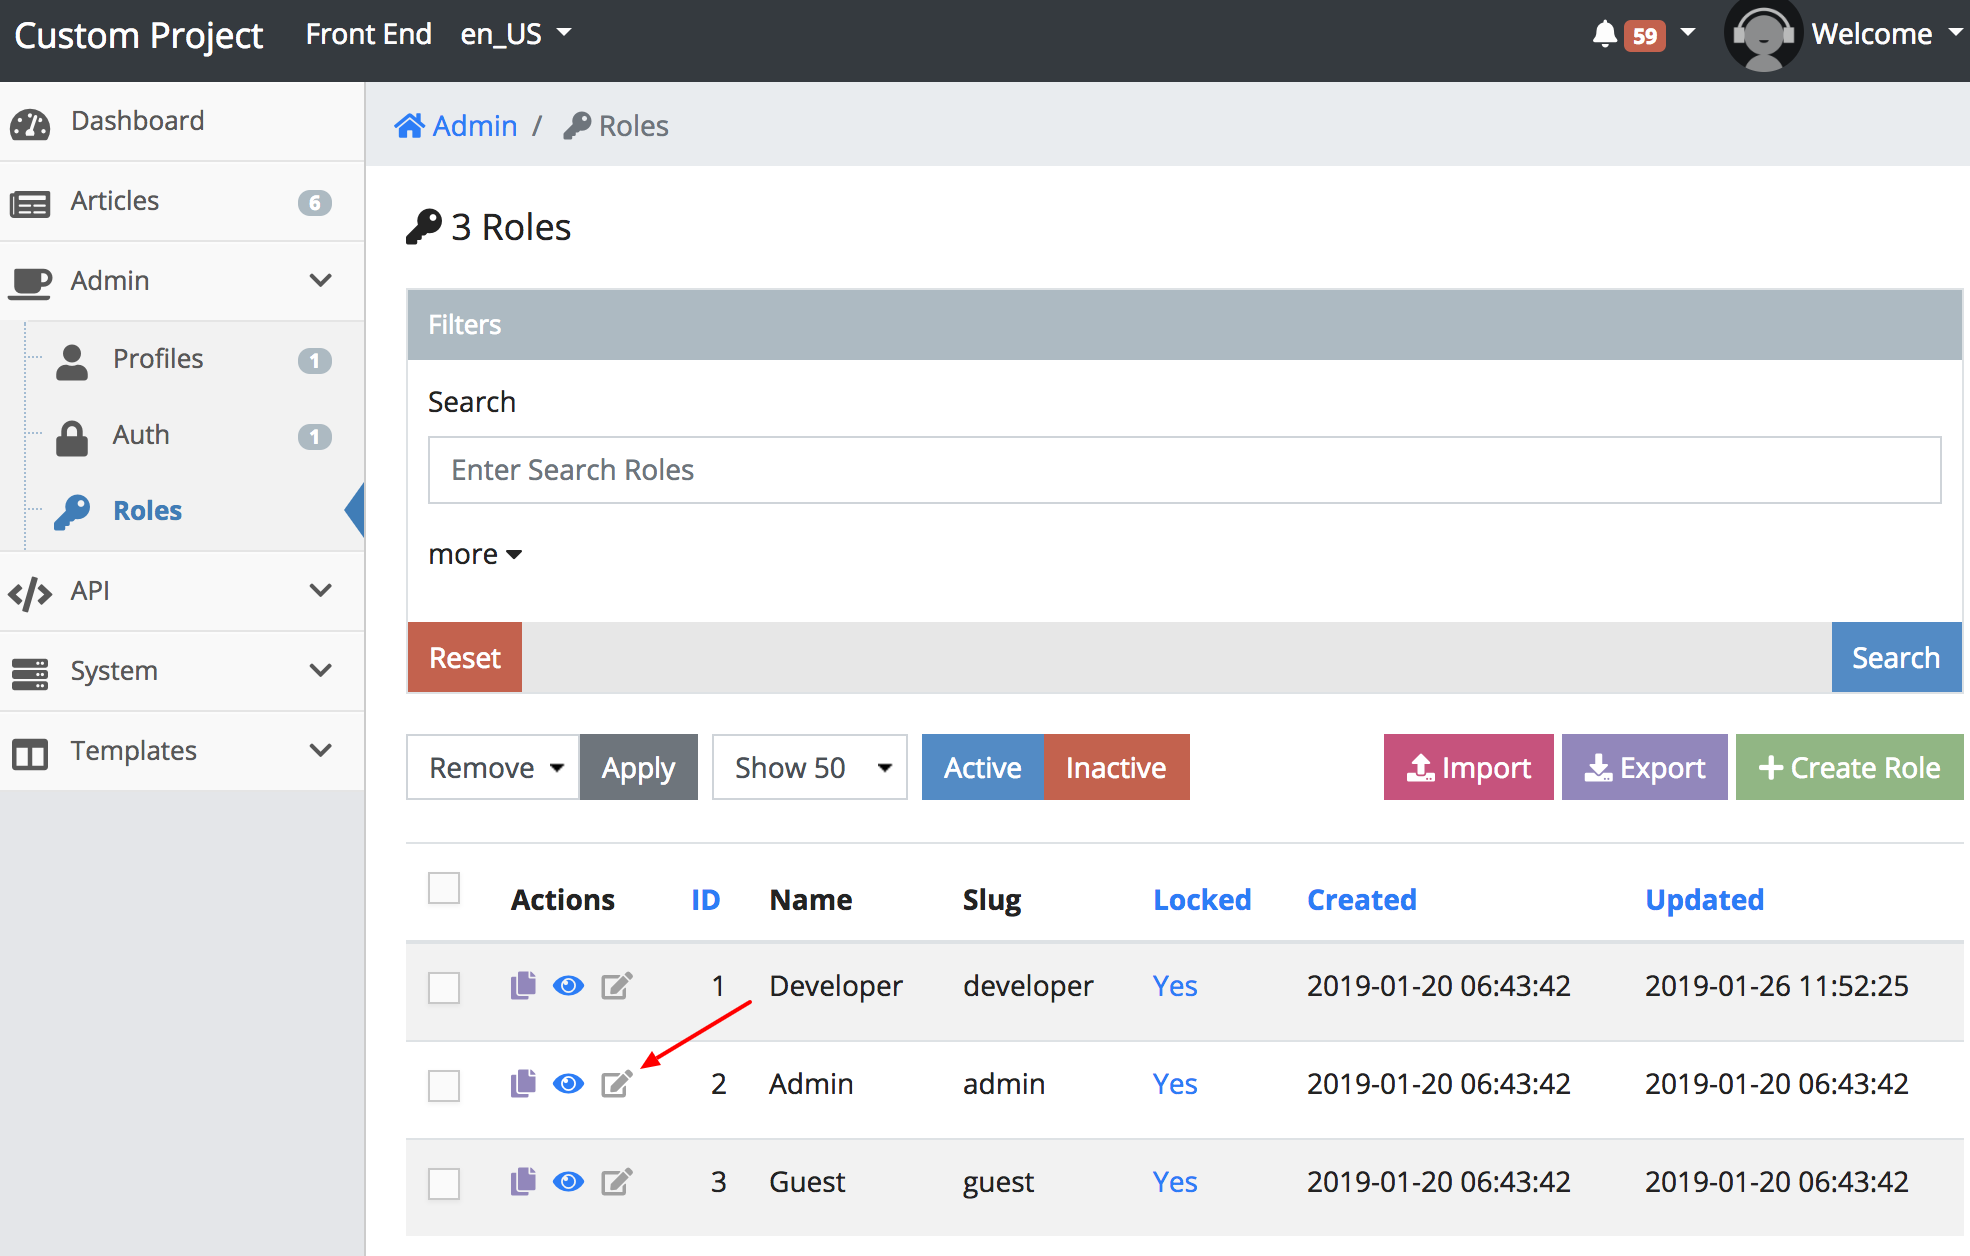
This time we are going to be managing the admin role. Find the row actions for
admin and click the grey update action.
Figure 2.5.2.A. Update Admin Role
Next scroll down and look for a section called Permissions.
INFO: The system initially takes a security stance of "need to have permissions"
to access anything. This means the following permissions is a white list of URLs
that can be accessed.
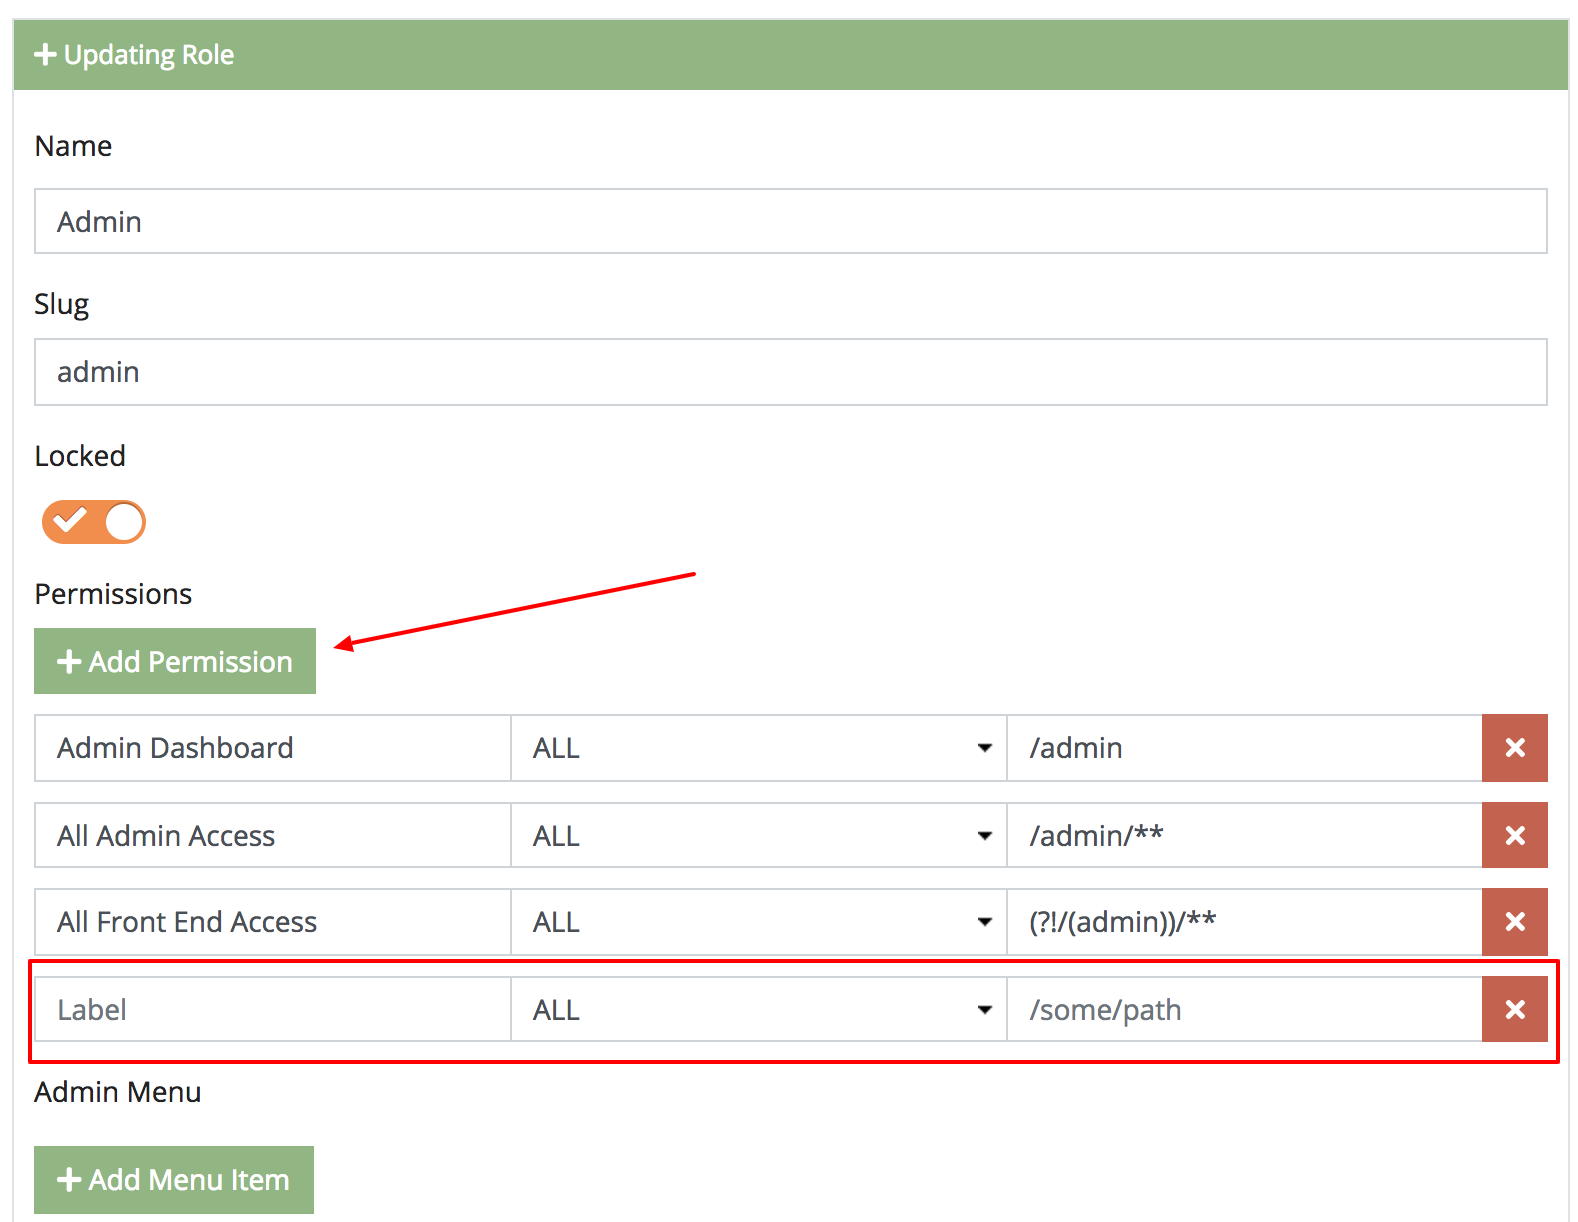
Click Add Permission and it will create a fieldset that shows three horizontal
fields that are described by the following items below.
- Label - The name of the Permission
- Method - This is the HTTP method that will be compared where:
GET- is a general page loadPOST- is when submitting a form or is creation of an object (usually for API calls)PUT- is updating an object (usually for API calls)DELETE- is removing an object (usually for API calls)ALL- any method is accepted
- Path - the URL path that is accepted to access. This also accepts Regular Expressions and Star Variables.
Figure 2.5.2.B. Add a Permission
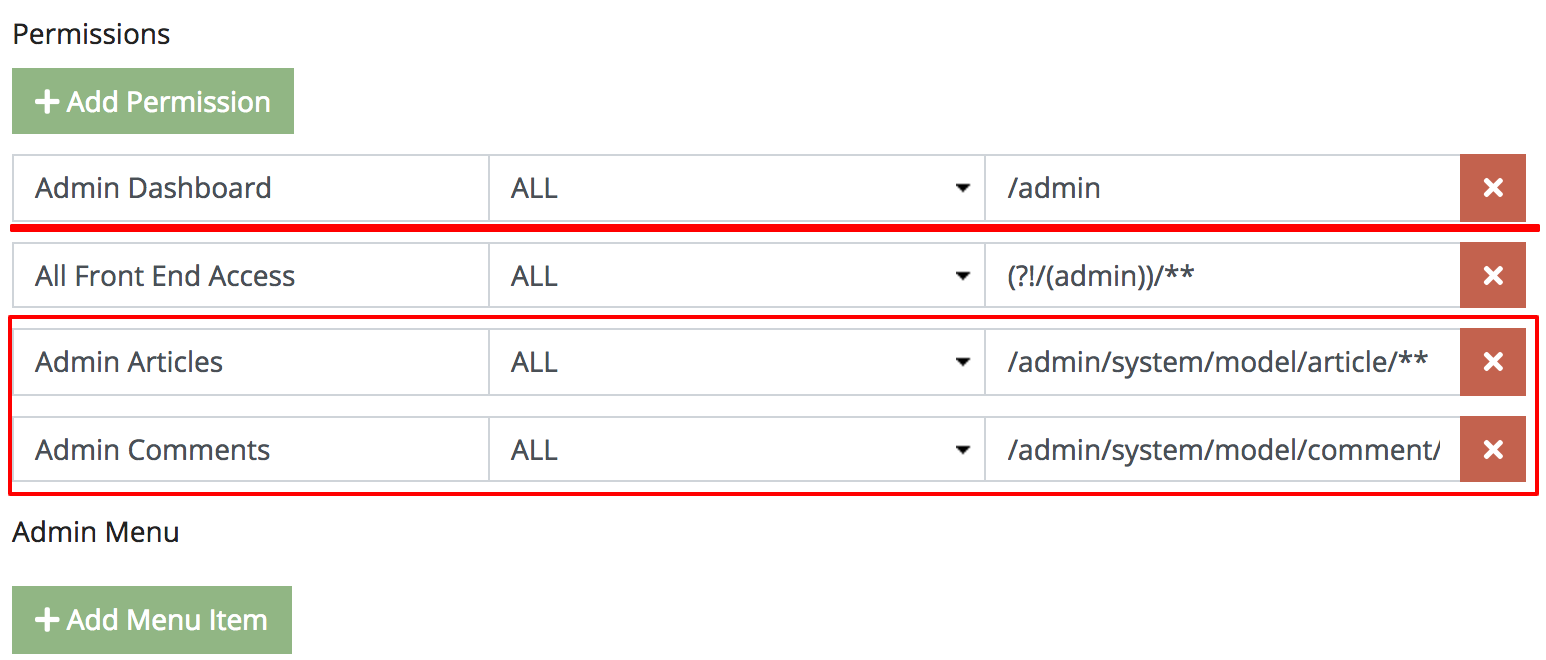
Lets remove All Admin Access and add two rows.
- Permission 1
- Label - Enter
Admin Articles - Method - Set to
All - Path - Enter
/admin/system/model/article/**
- Label - Enter
- Permission 2
- Label - Enter
Admin Comments - Method - Set to
All - Path - Enter
/admin/system/model/comment/**
- Label - Enter
If you entered the fields correctly it should look like the image below.
Figure 2.5.2.C. Allowing Articles and Comments
So permission paths can be represented by an explicit path like
/admin/system/model/article/search and using
Regular Expressions. The following
describes how to use star variables in your permission path.
2.5.2.1. Star Variable
As you can tell, paths can also be expressed with wildcards by adding a * as
in /some/*/stuff. When the URL is /some/good/stuff, the above path will be
matched, like wise with /some/bad/stuff, however /some/stuff will not match
the above path.
2.5.2.2. Double Star Variable
To take on an N amount of wildcards you can add ** as in /some/**/stuff.
When the URL is /some/good/stuff, the path will be
matched, like wise with /some/even/better/stuff, however /some/stuff will
not match the above path.
If you wanted a path to match all /article URLs for example, you can do so
with /article/** or even **.
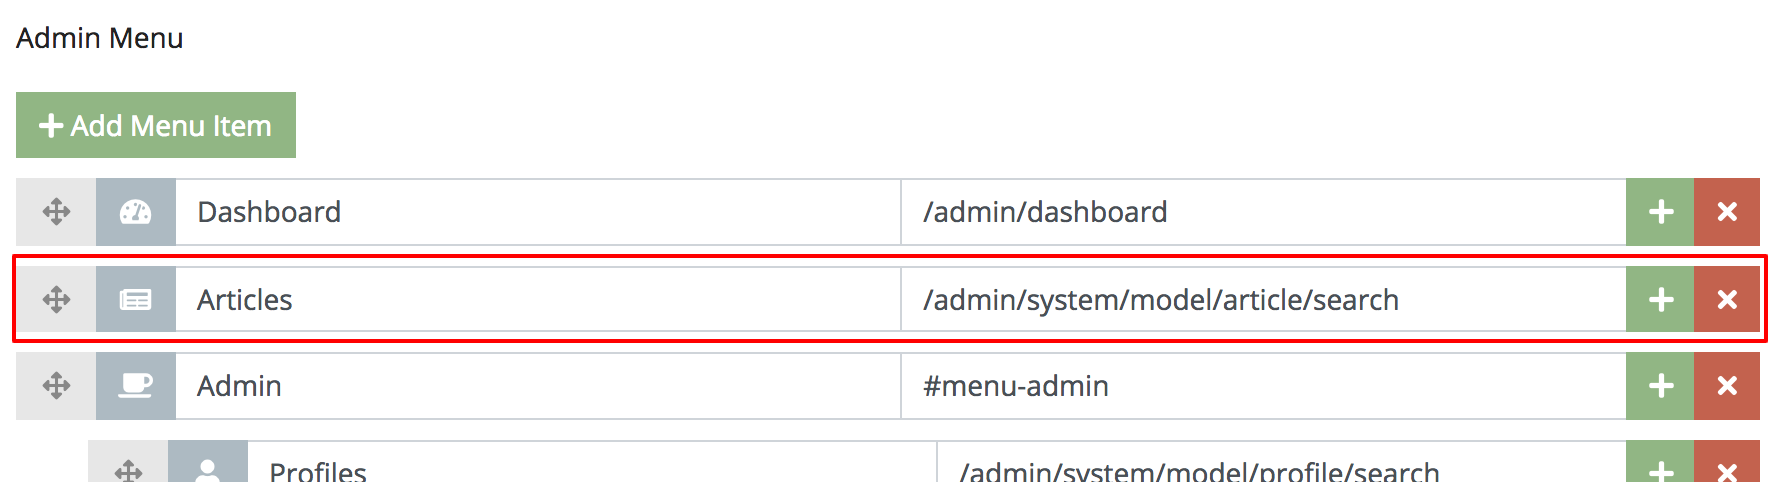
Lastly, Let’s populate the menu item with the following values outlined.
- Icon Field - Choose any icon.
- Menu Title - Enter Articles
- Menu URL Link - Enter
/admin/system/model/article/search
Also re-order the Articles menu item so it shows right below the Dashboard menu item so it looks like the image below. When your done, go ahead and submit the form.
Figure 2.5.2.D. Add an Article Menu
2.5.3. Testing With Jane Doe
Now that we are done with creating a user and setting its role, let’s try
logging in with Jane Doe to see the permissions at work. First we need to log
off. This is found at the top right of the admin under the Welcome drop down.
Alternatively you can go to http://127.0.0.1/auth/logout.
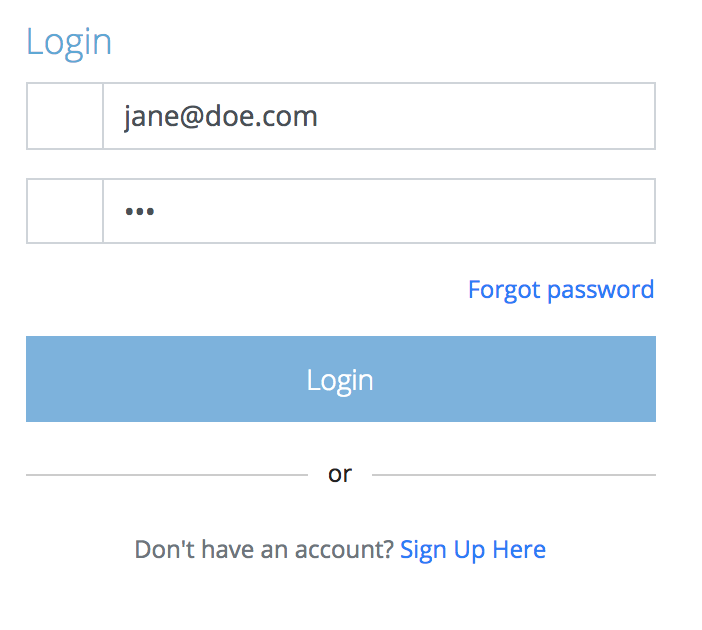
Next go to http://127.0.0.1/auth/login and enter the following credentials.
- Email - This is the log in info; Enter
jane@doe.com - Password - This is the log in password; Enter
123
Figure 2.5.3.A. Log In
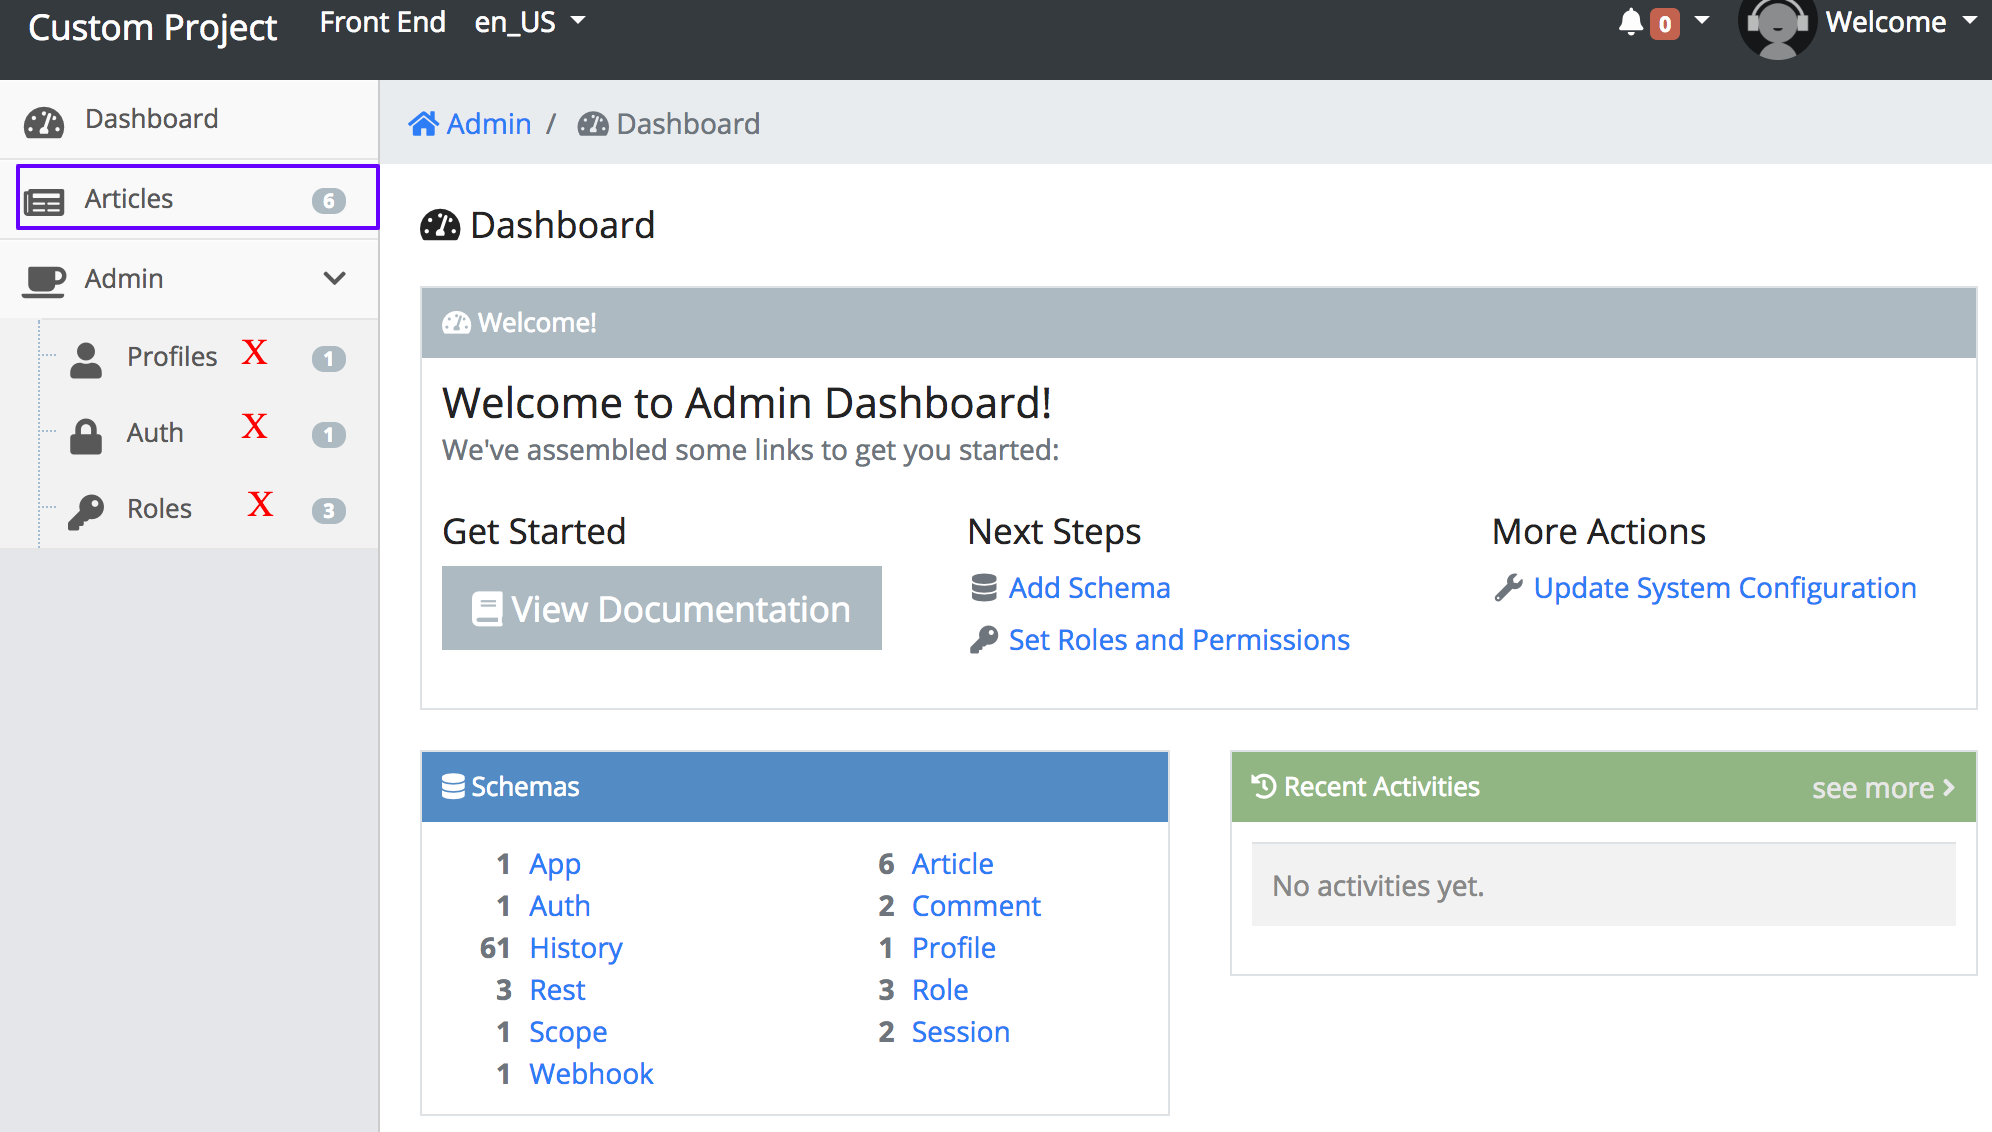
After you log in, go to http://127.0.0.1/admin. If you try to click through
some of the menu items like Profile, Auth and Role it will not let
you access these links, however the system will allow you to access the Articles
link with no issues.
Figure 2.5.3.B. Final Results
2.5.4. Conclusion
We just completed creating an admin user in the system and properly setting up the role. In the next chapter 2.6. Creating a Fieldset we will be re-entering schema land and working with fieldsets in depth.